🎉 ⏱ Ready to build? Get early access now!⏱ 🎉

Create an NFT drop with TypeScript
Create our own drop where we can create NFTs in TypeScript.
Intro
In this guide, we'll create our own drop with the TypeScript SDK! In a drop, you can list your tokens, like NFTs, for sale. OpenSea is an example of a drop. Did you know you can do both! After we create our drop, we will list the NFT we minted with our SDK in our previous guide. Check that guide out over here.
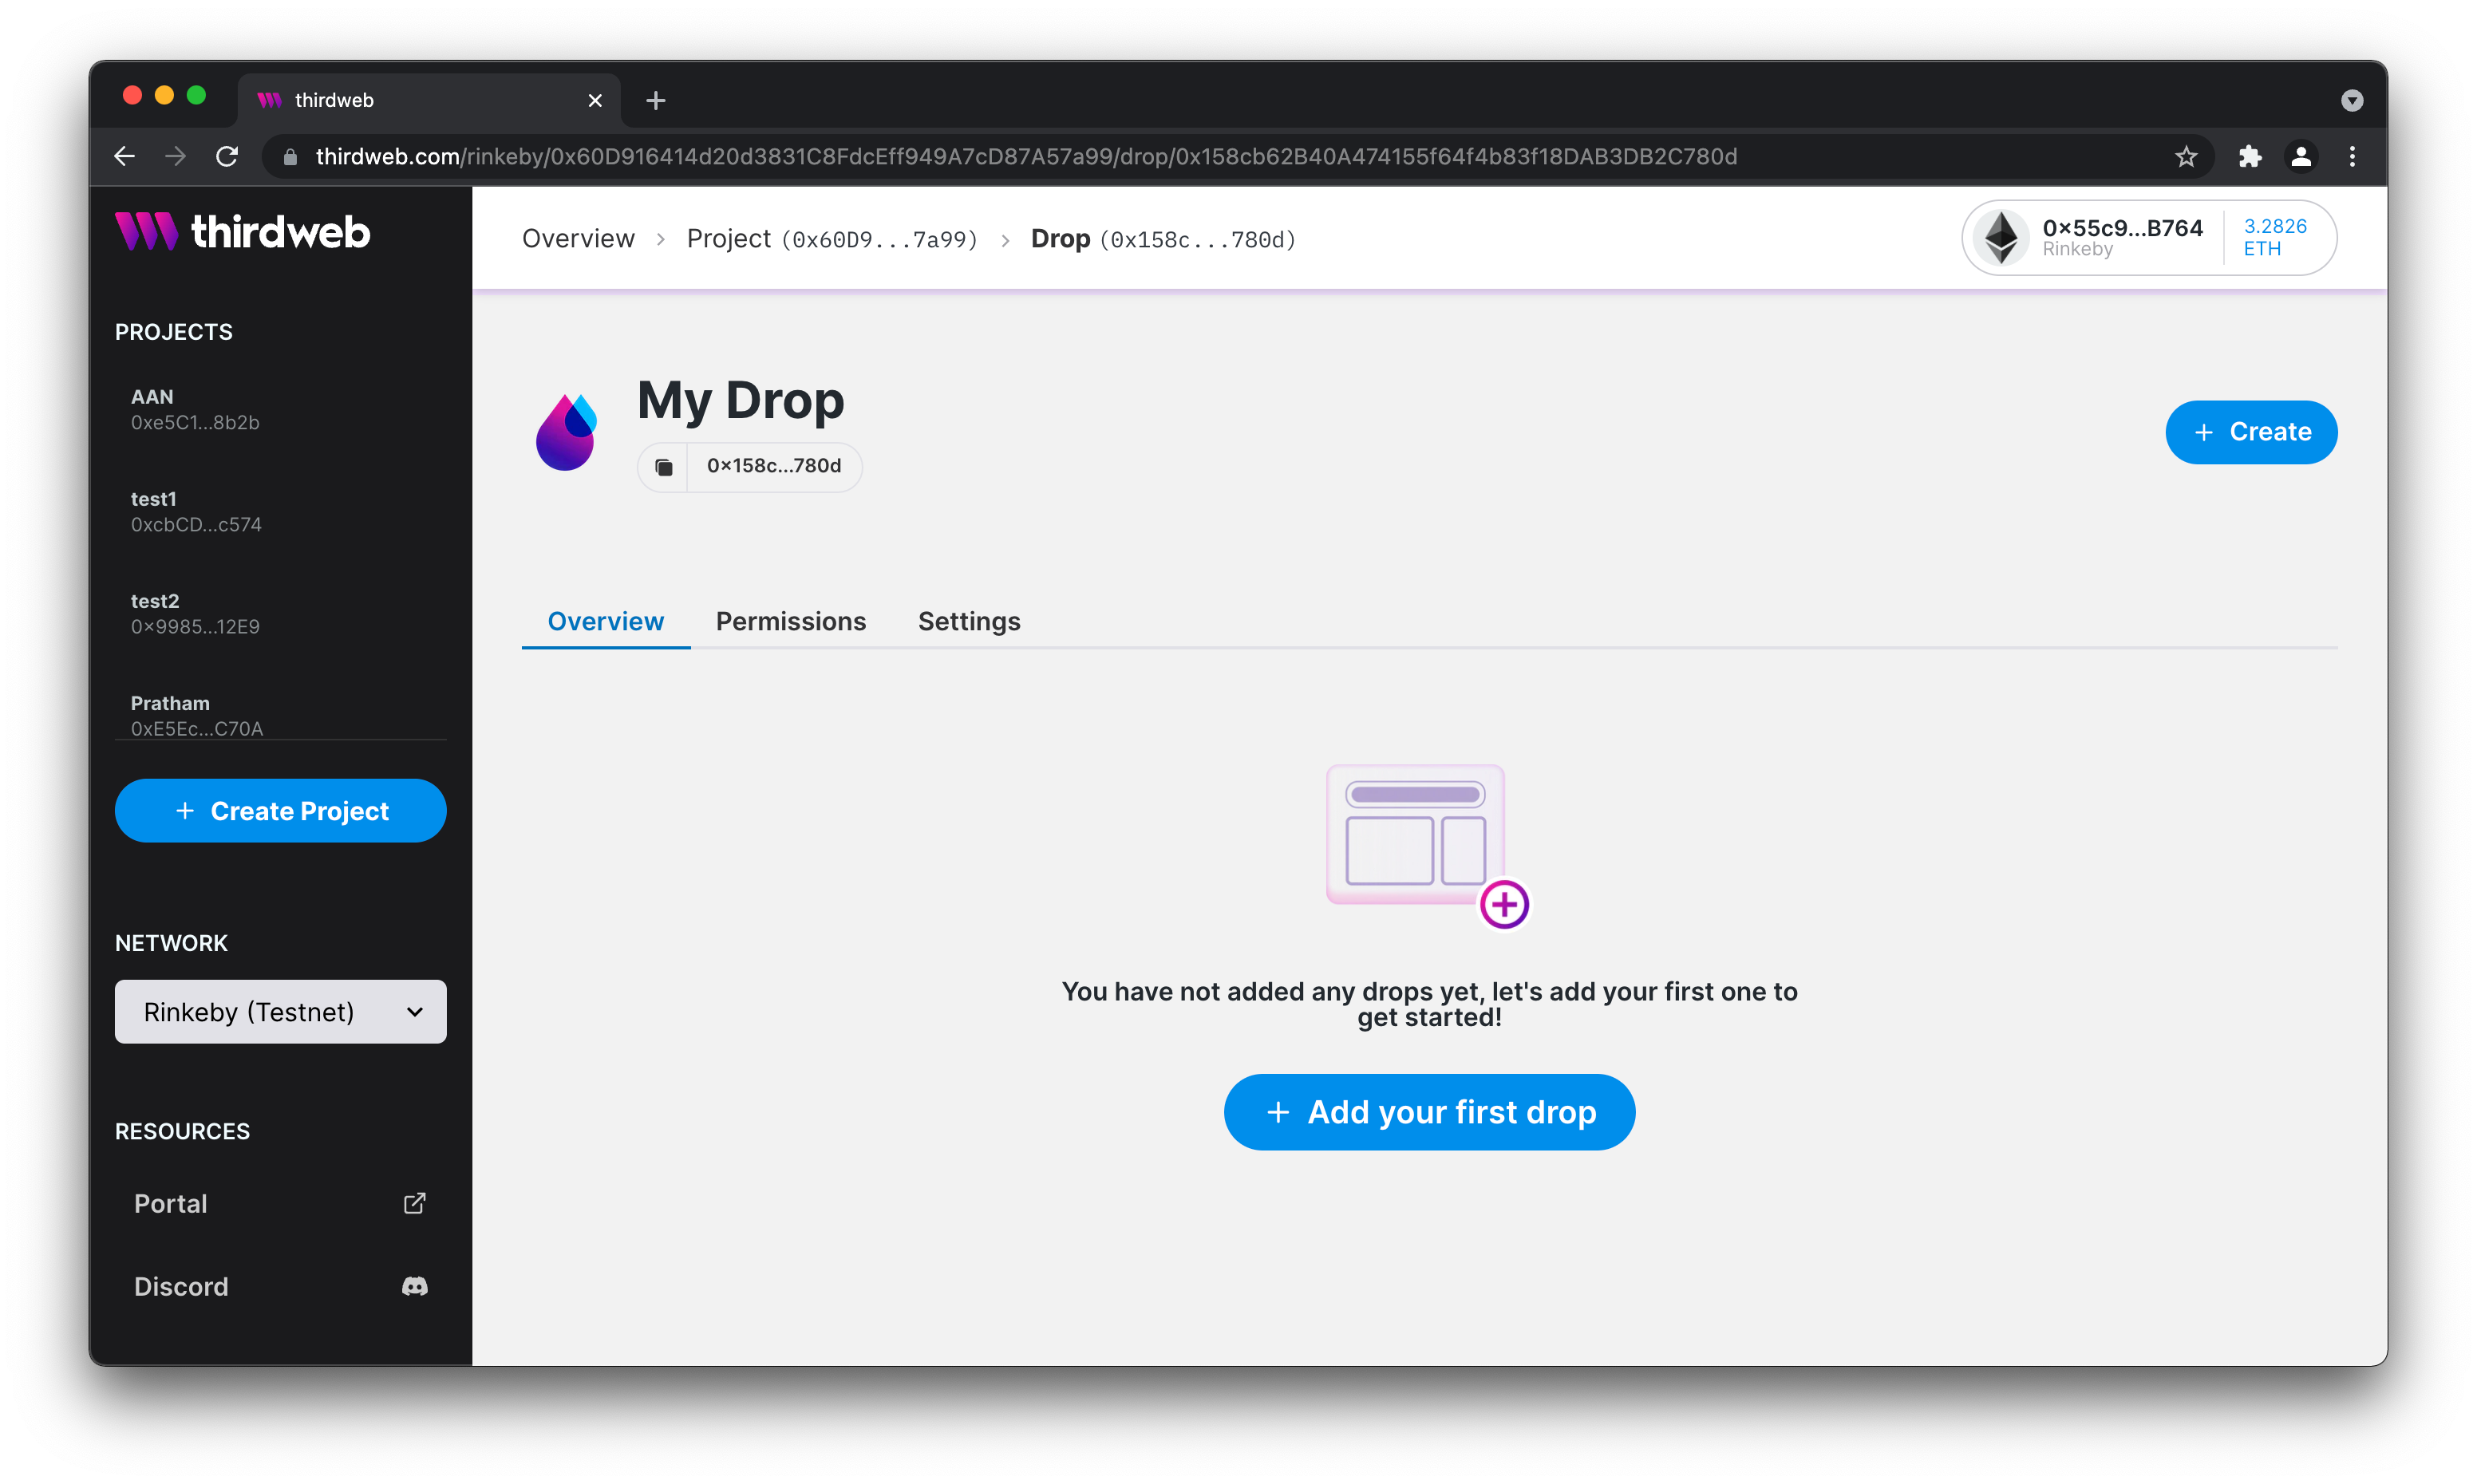
Dashboard setup
The first thing we need to do is head over to the dashboard and create a project and a Drop module. if you don't know how to do this, check out this guide.
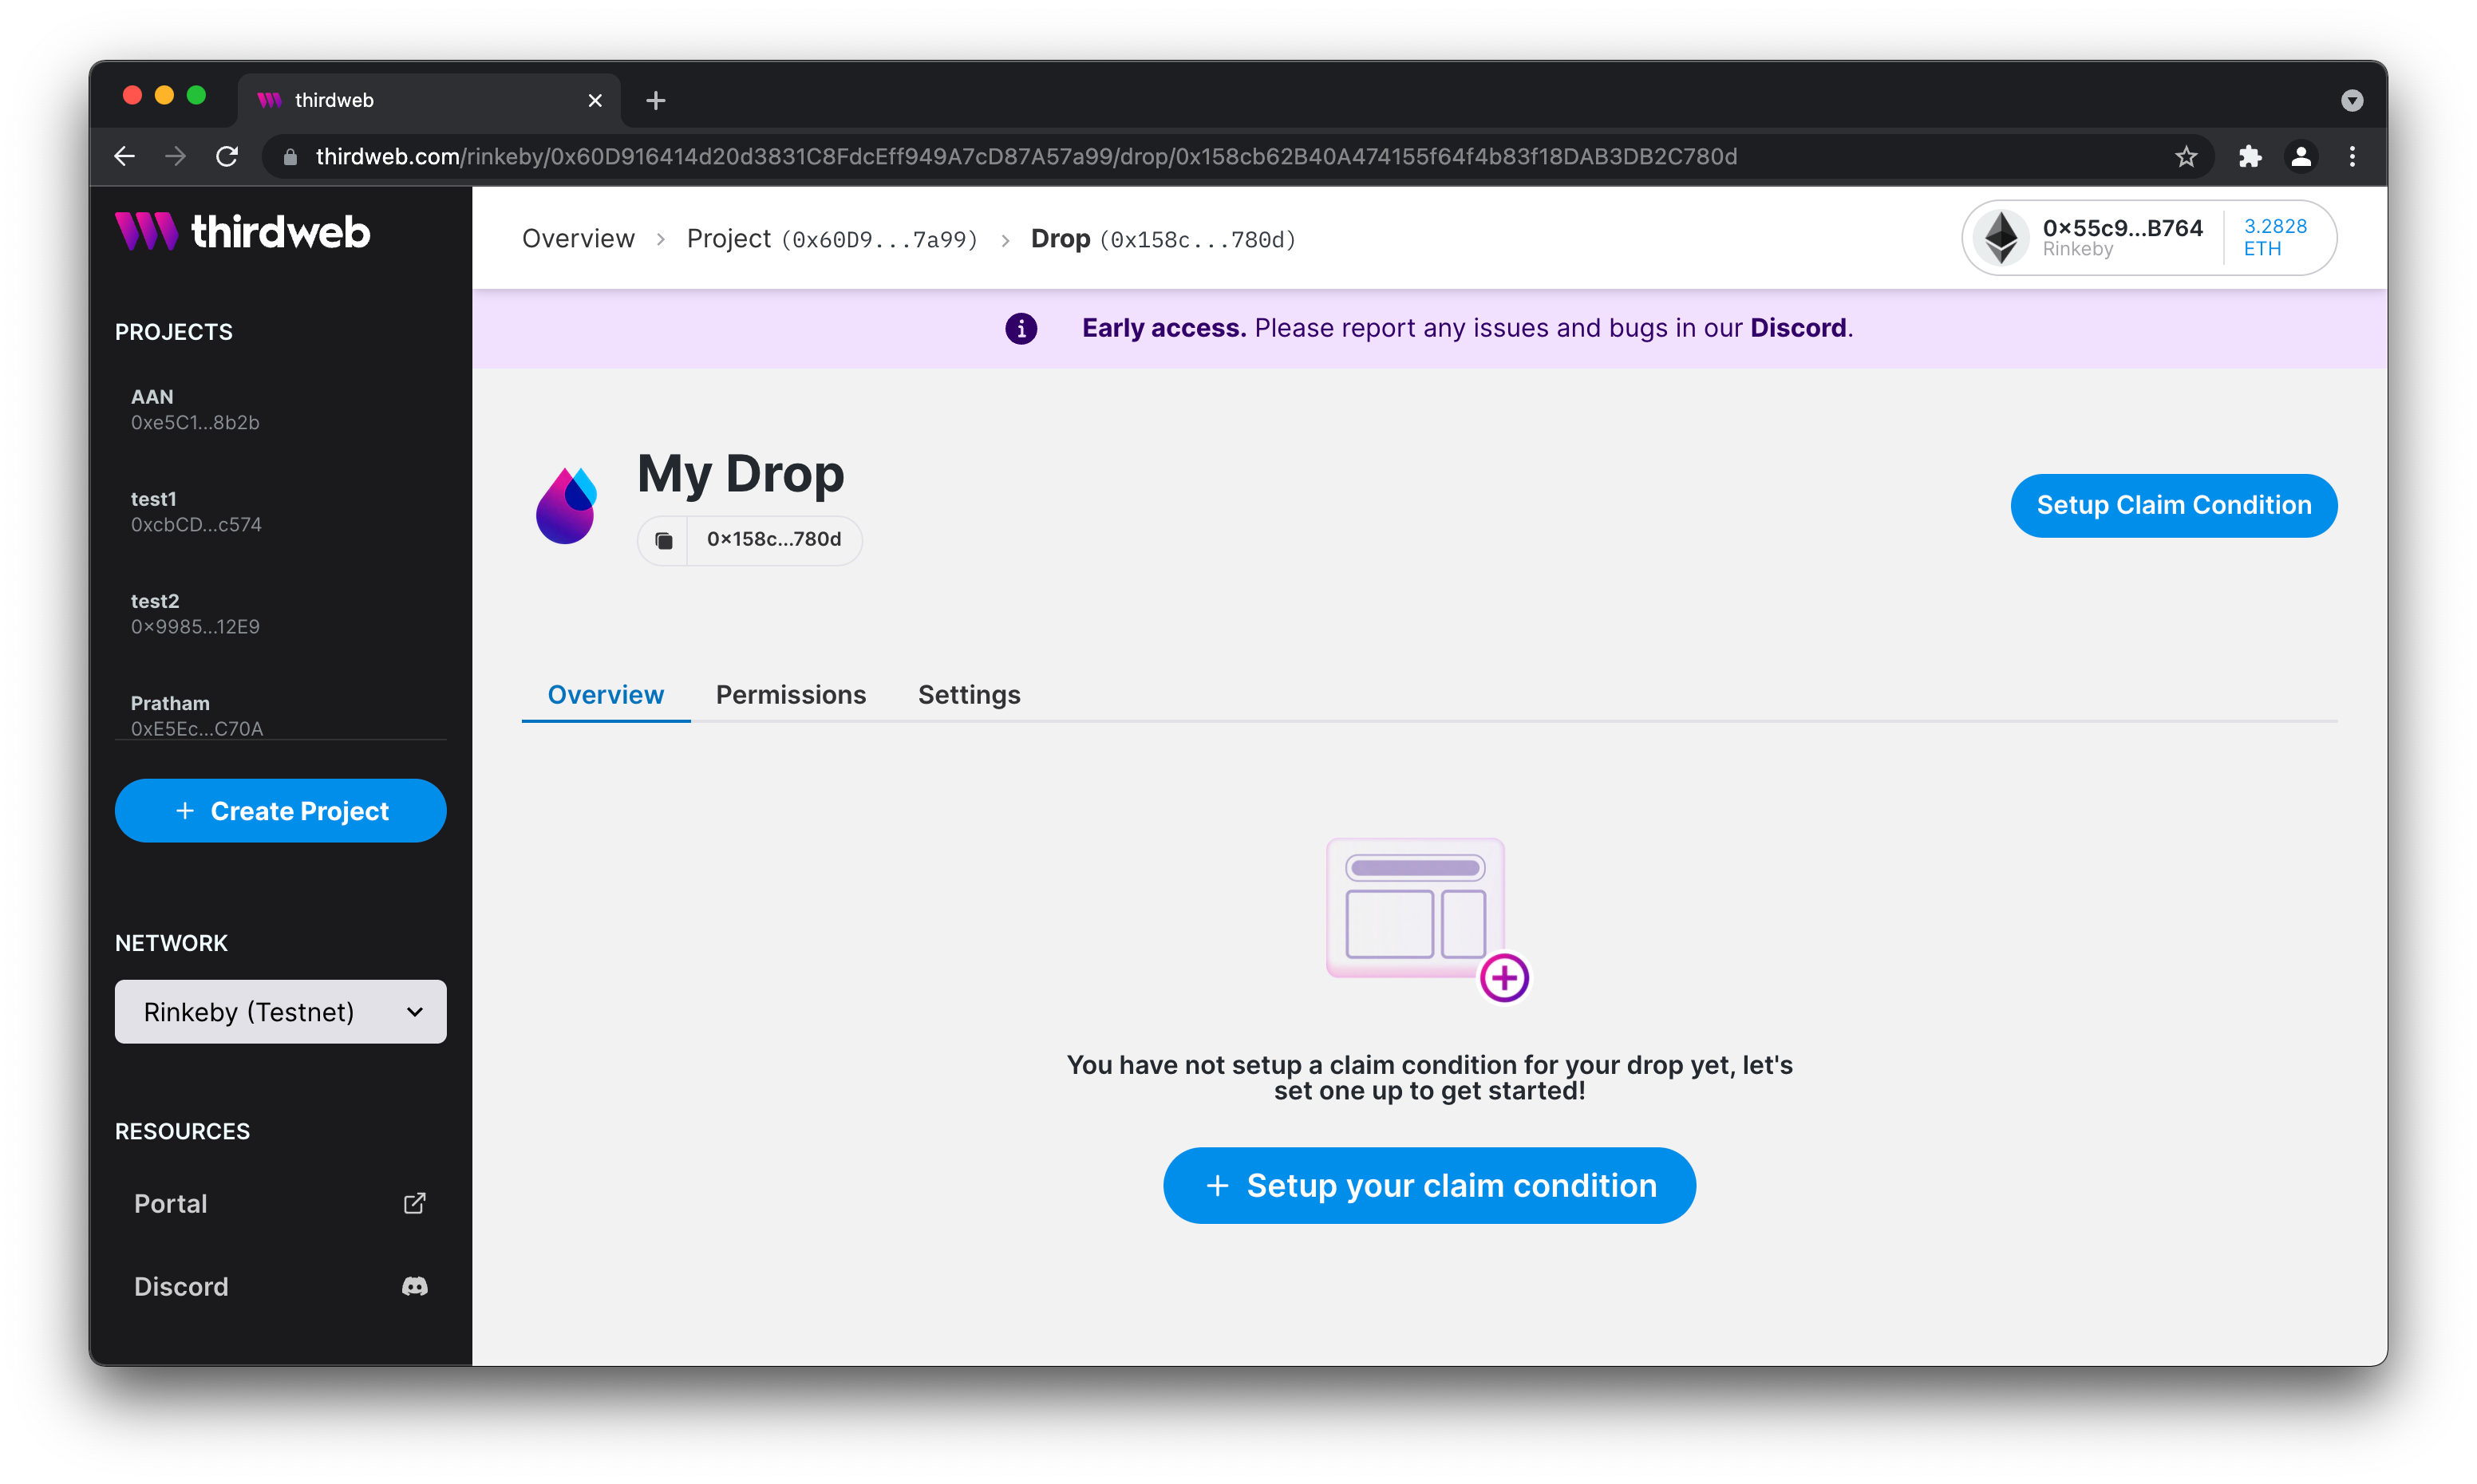
Set claim conditions
Once your Drop module has been created, we can go ahead and set the Claim conditions. These conditions are some of the rules we'll apply when someone wants to claim an NFT, such as price, max amount of tokens to be claimed, etc. Click on Setup your claim condition.
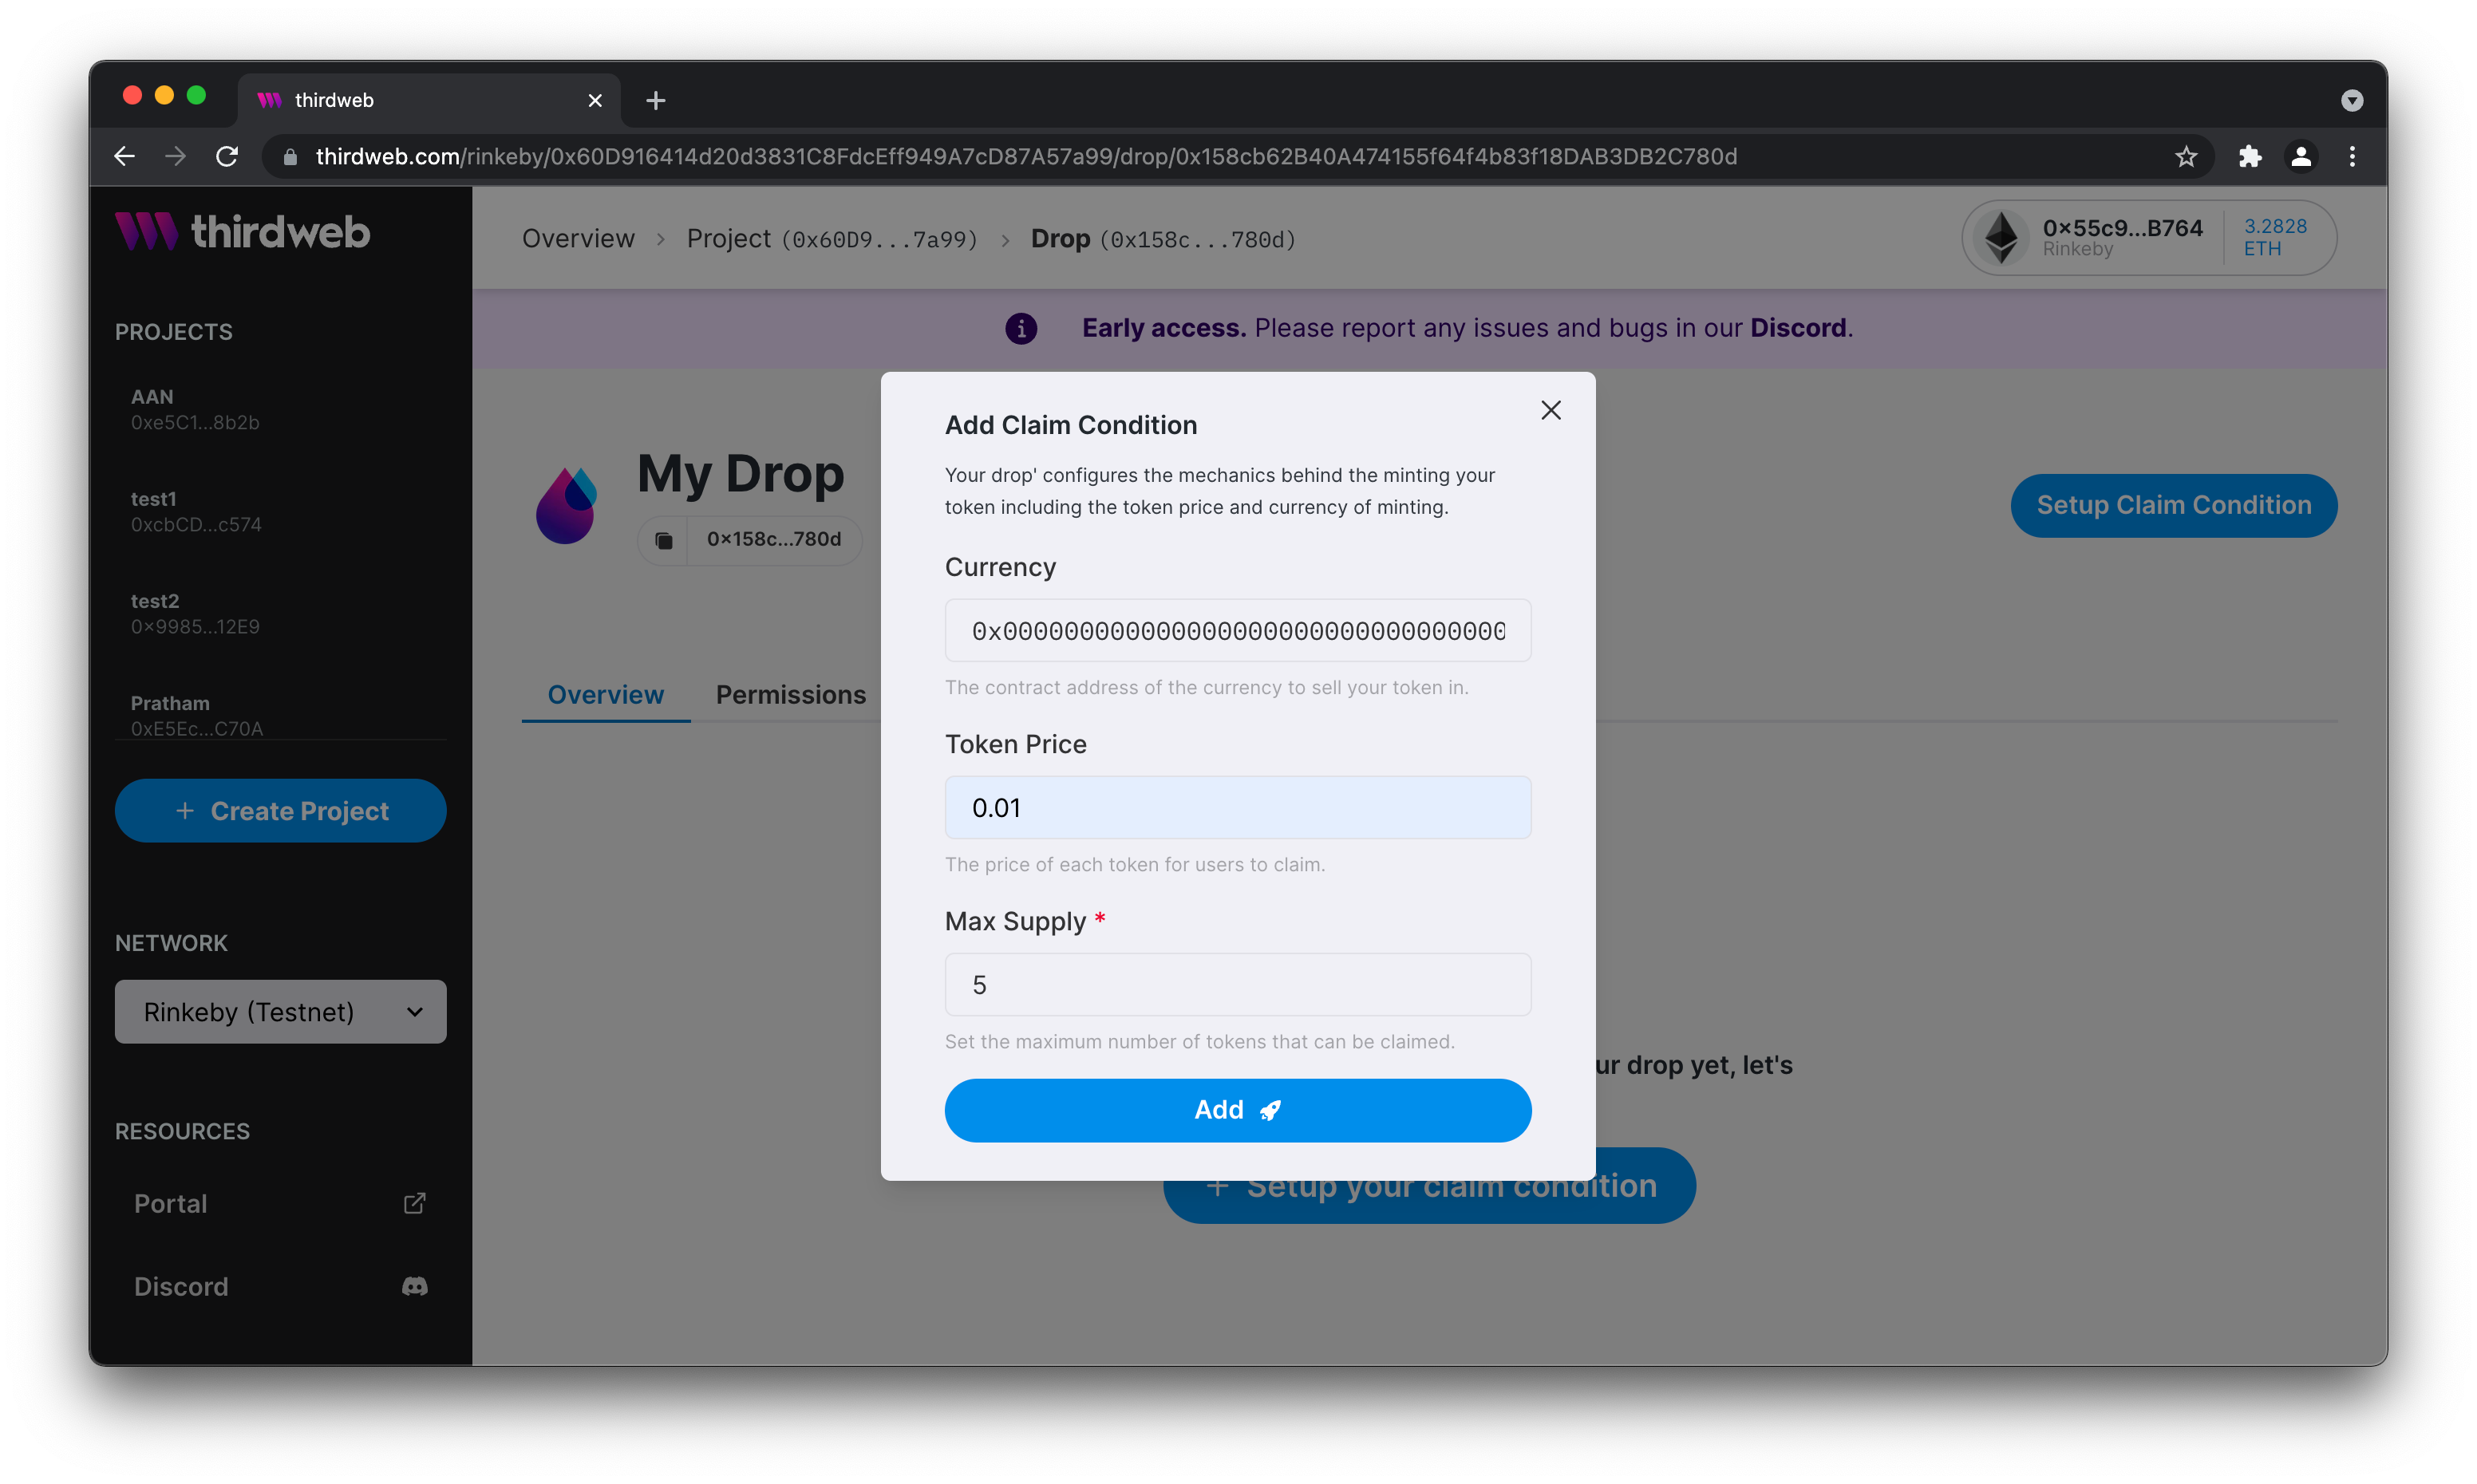
Claim conditions
In this example we will first pick our currency. To choose the native currency of a chain, leave the default setting, i.e. the 0x000...000. We set the max price per nft as 0.01 ETH and the max supply 5. Click on add to finalise. Your wallet will pop-up to authorise a transaction.
Fill in claim conditions
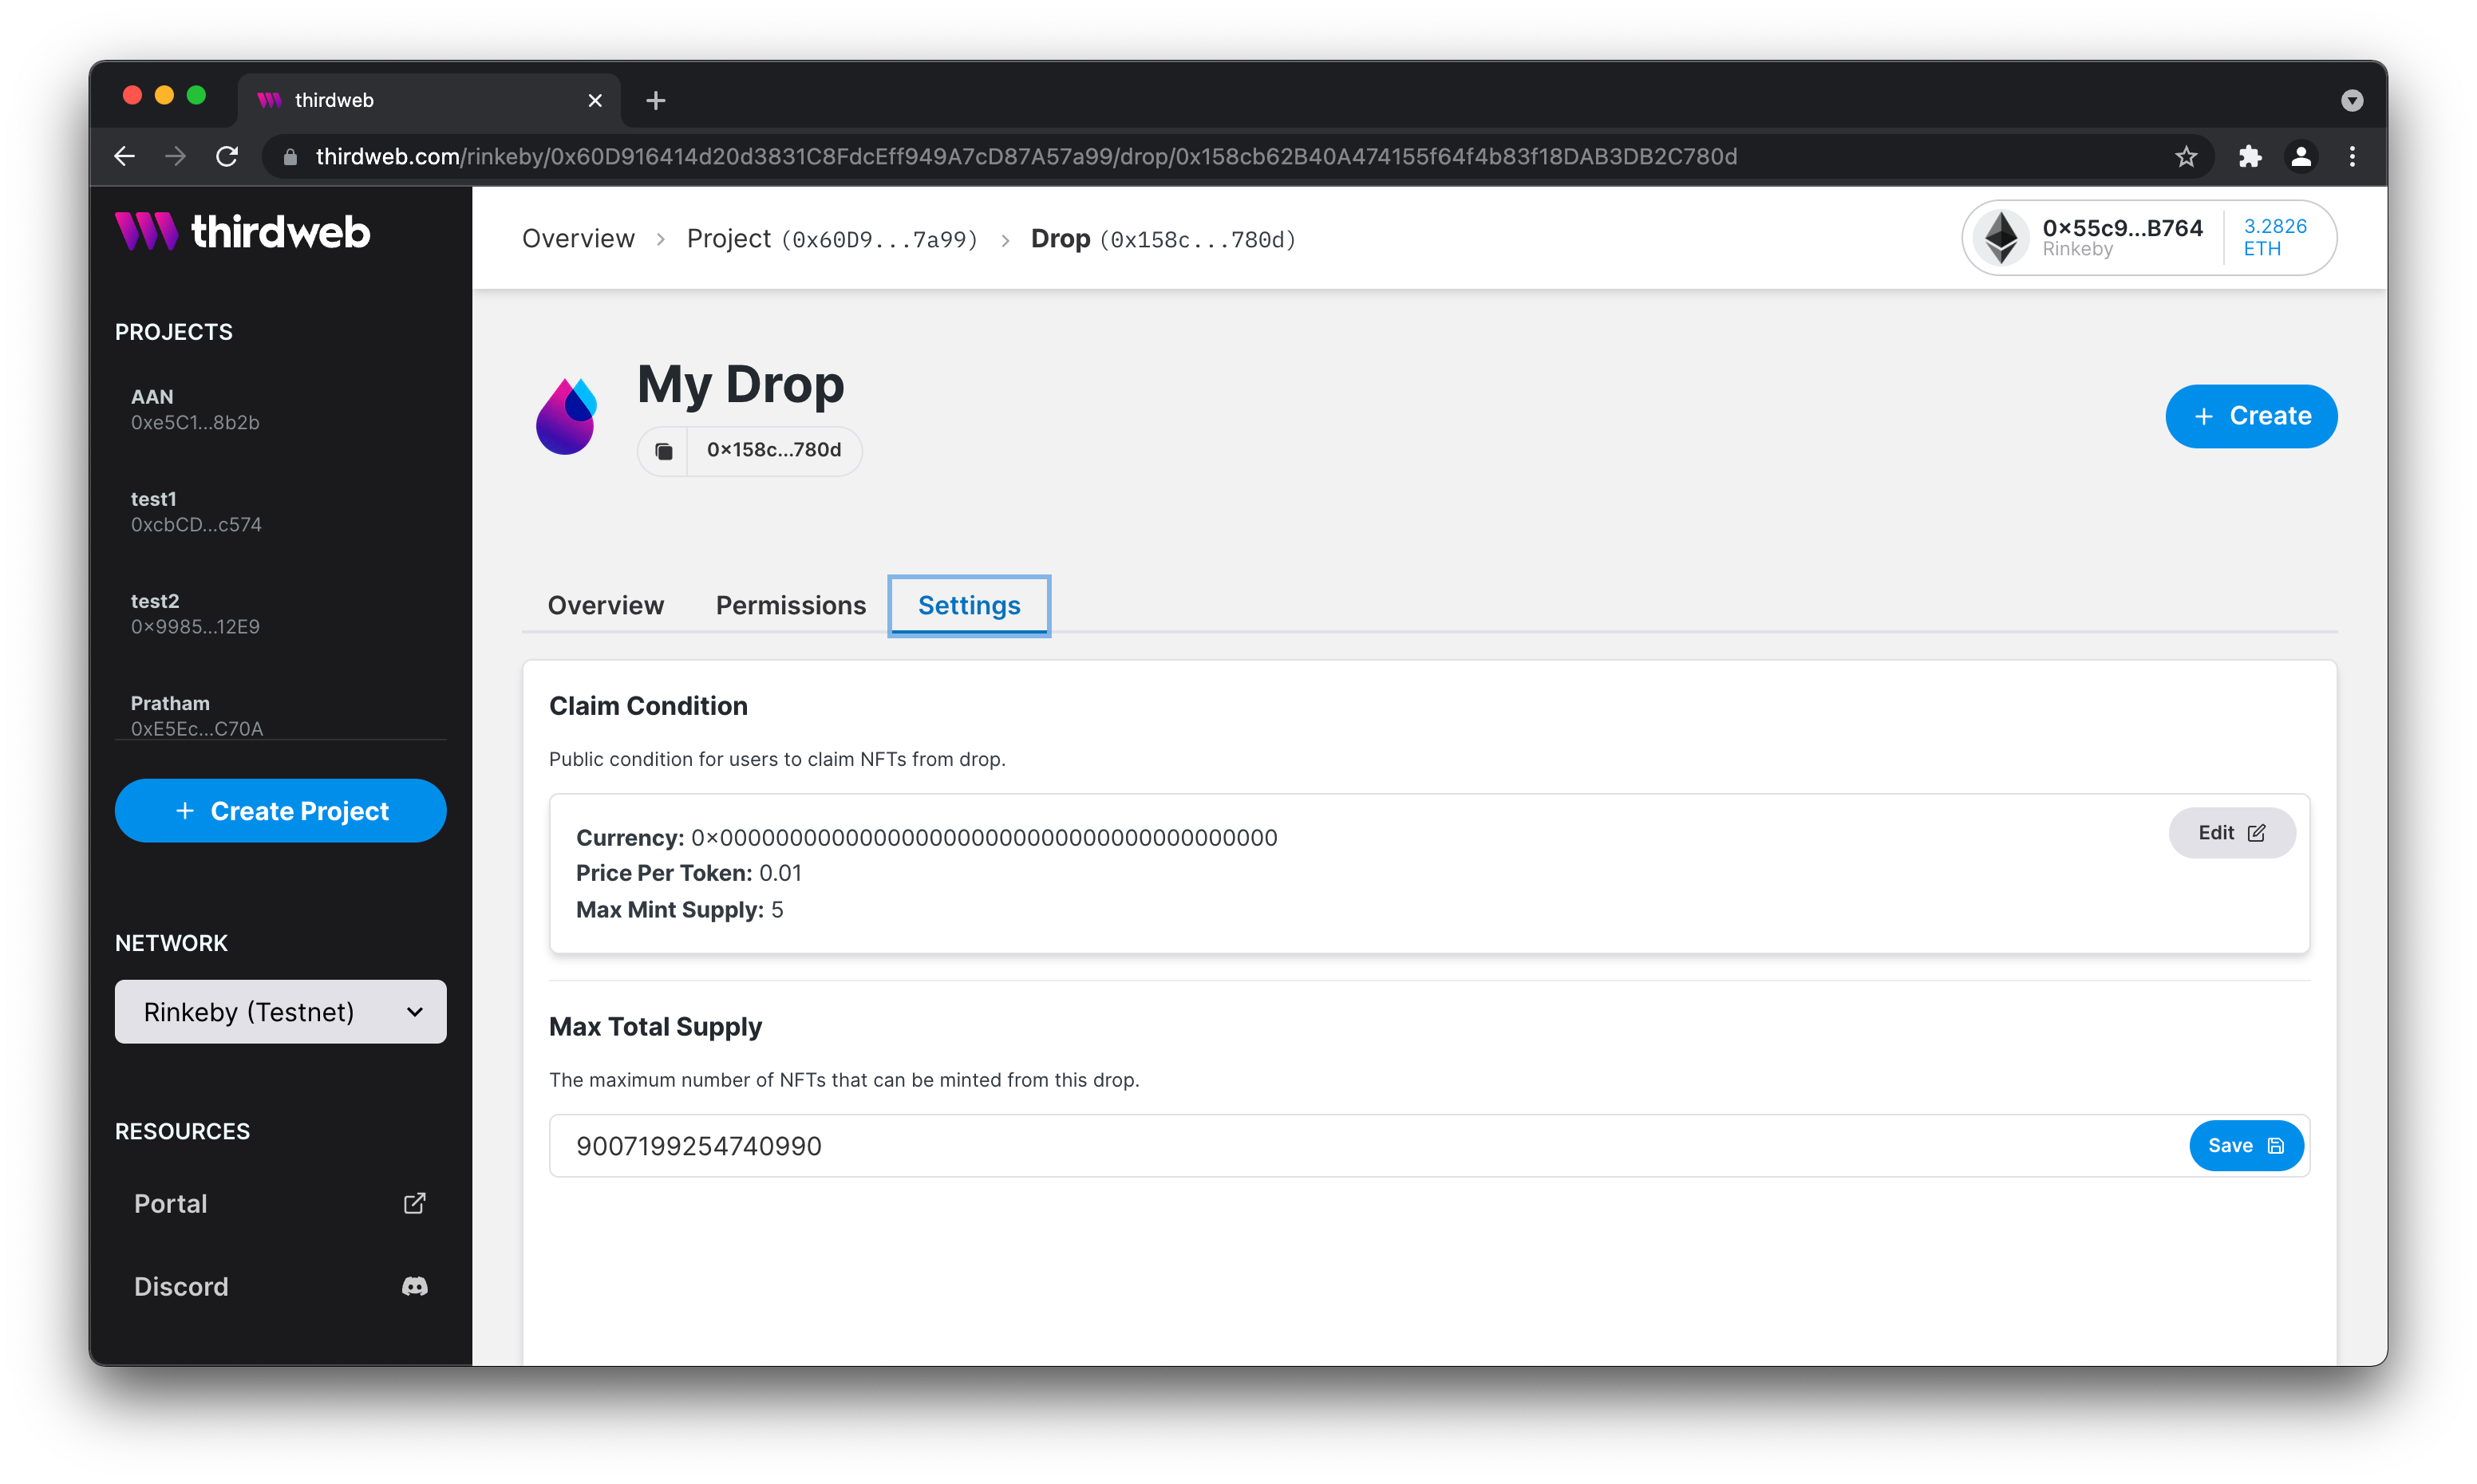
Go ahead to settings to check your claim conditions. You can see them here. Please note, that if you change your claim conditions, you will have to pay gas fees.
Fill in module settings
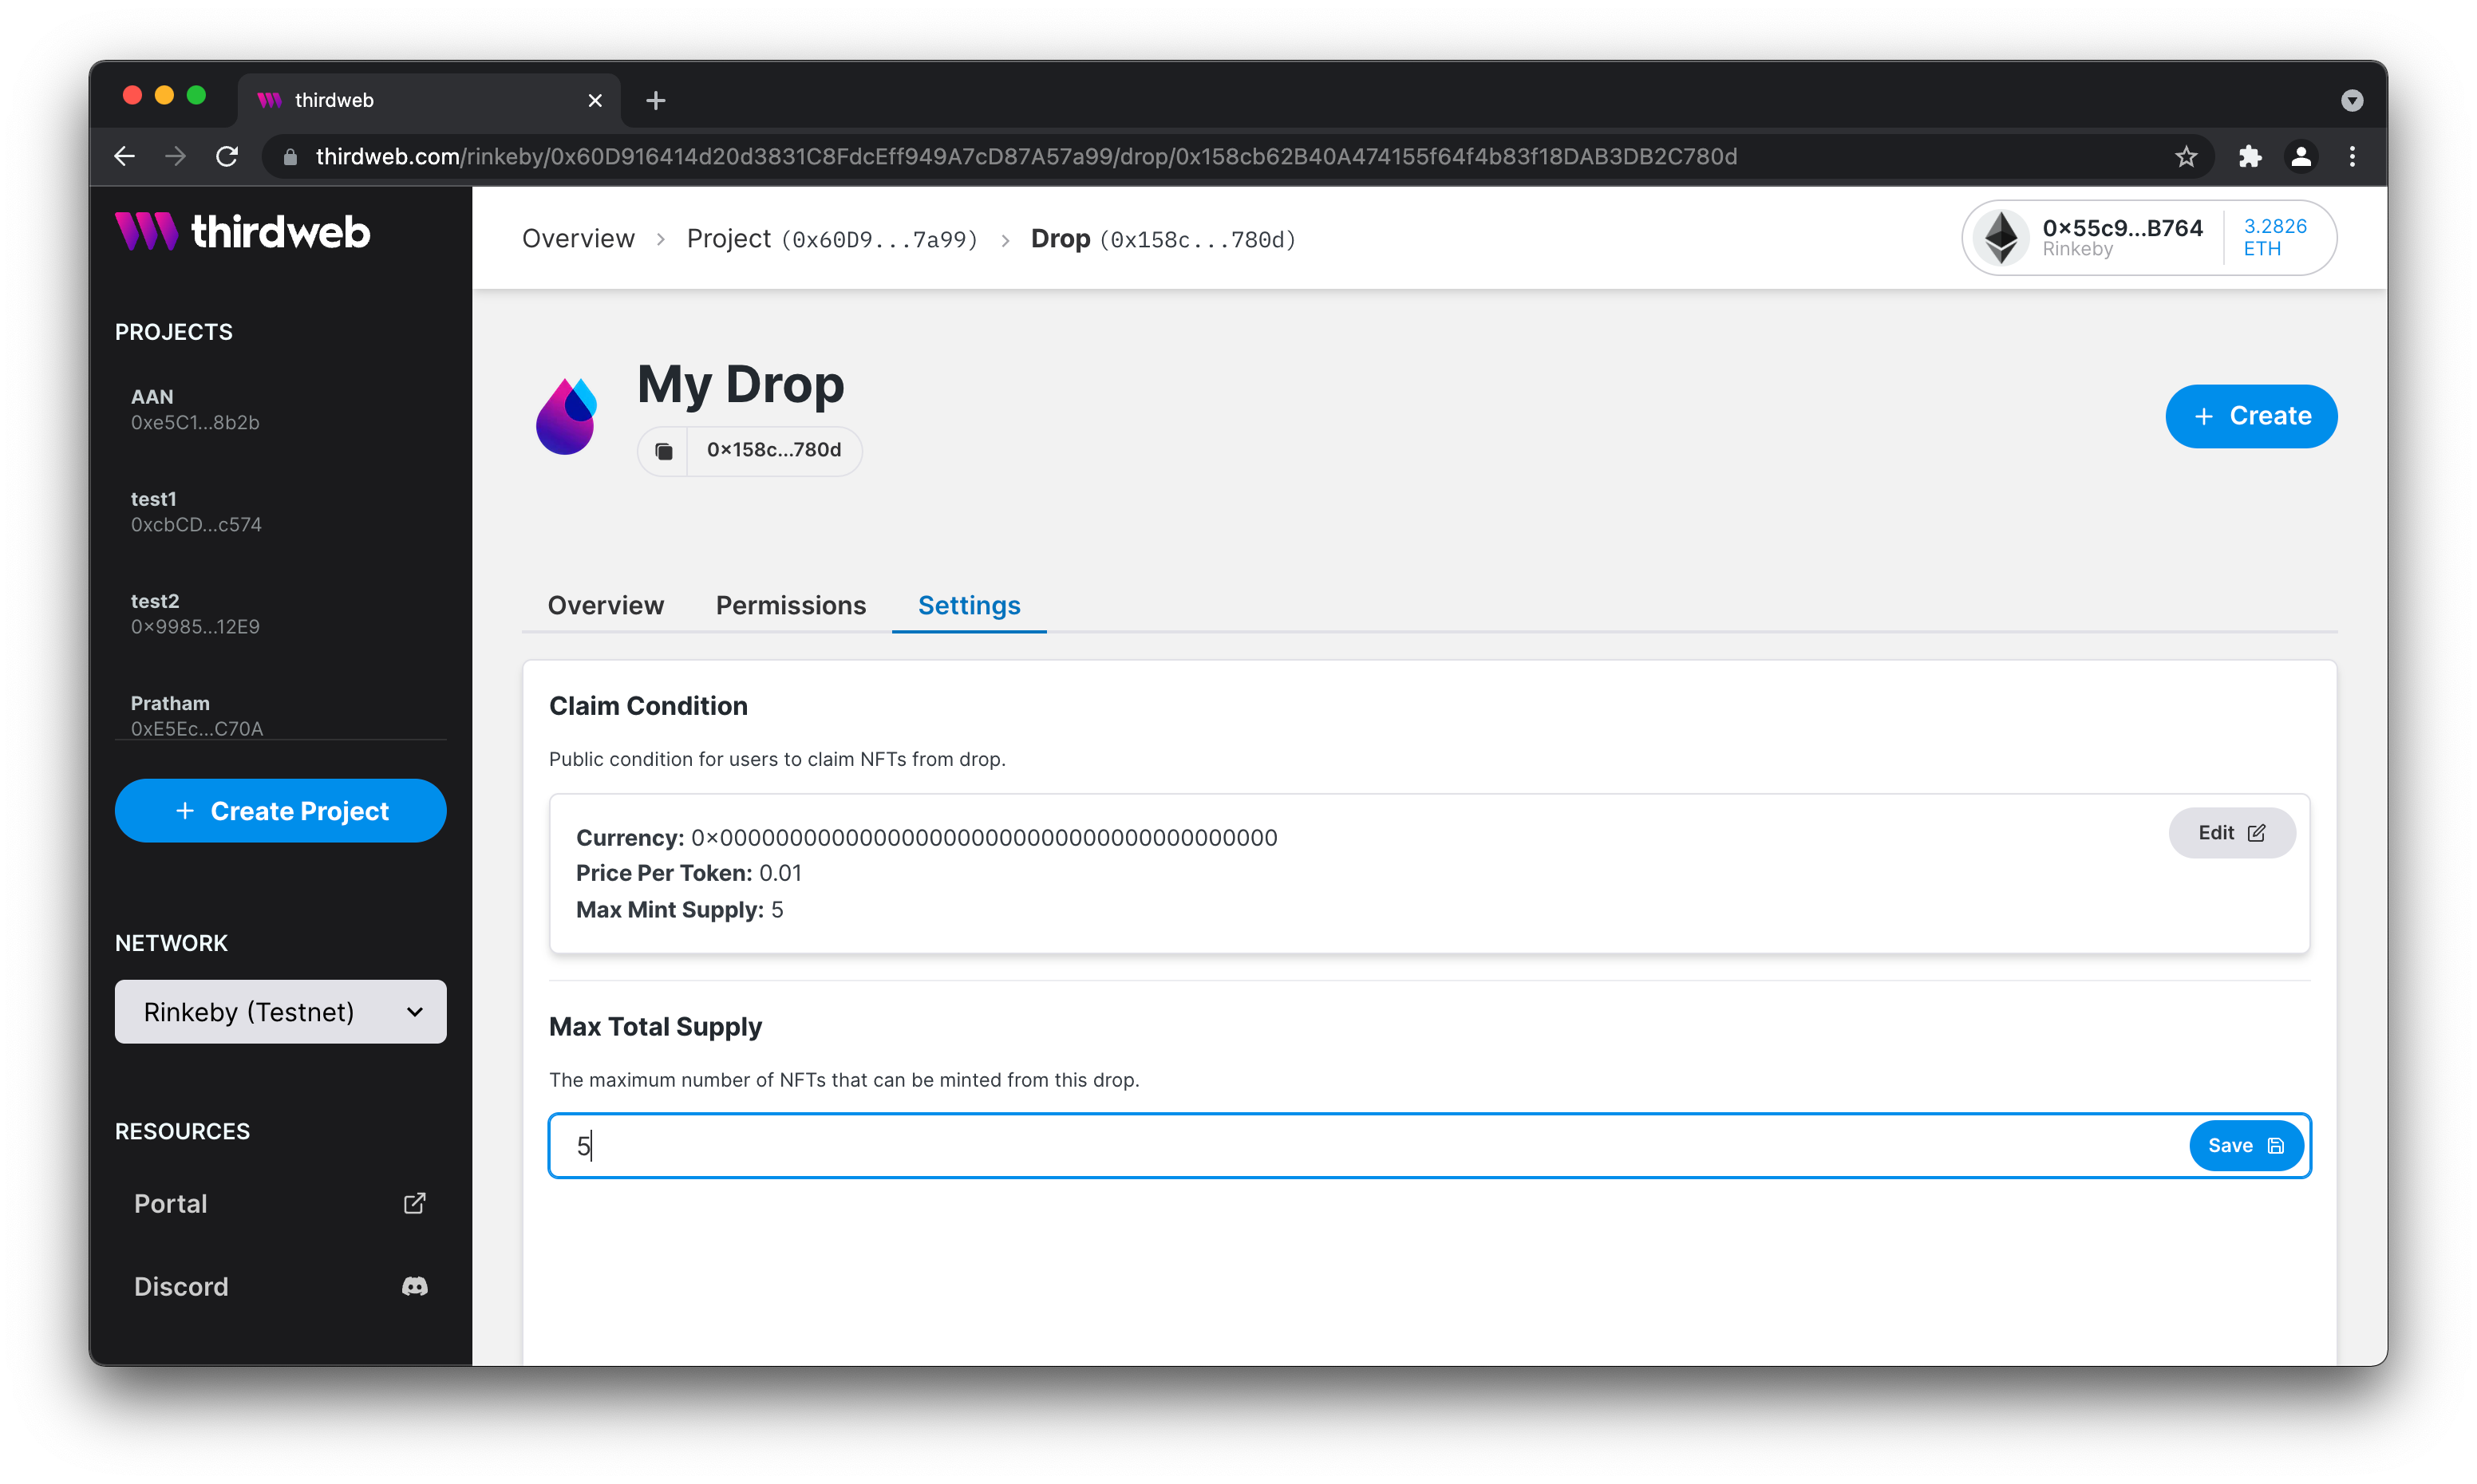
Over here you can also see the max supply you can set for your Drop. Please note the difference. You can create more drops than claims. In this case you would not want every piece of NFT to be claimed (yet). In this guide we will set the max to 5. Changing the amount of total supply in your settings, requires you to pay gas fees.
Now it's time to list our first NFT, but we don't need the dashboard for that! I mean we could, but why use GUI if we can use TypeScript!?
Start minting an nft
The code
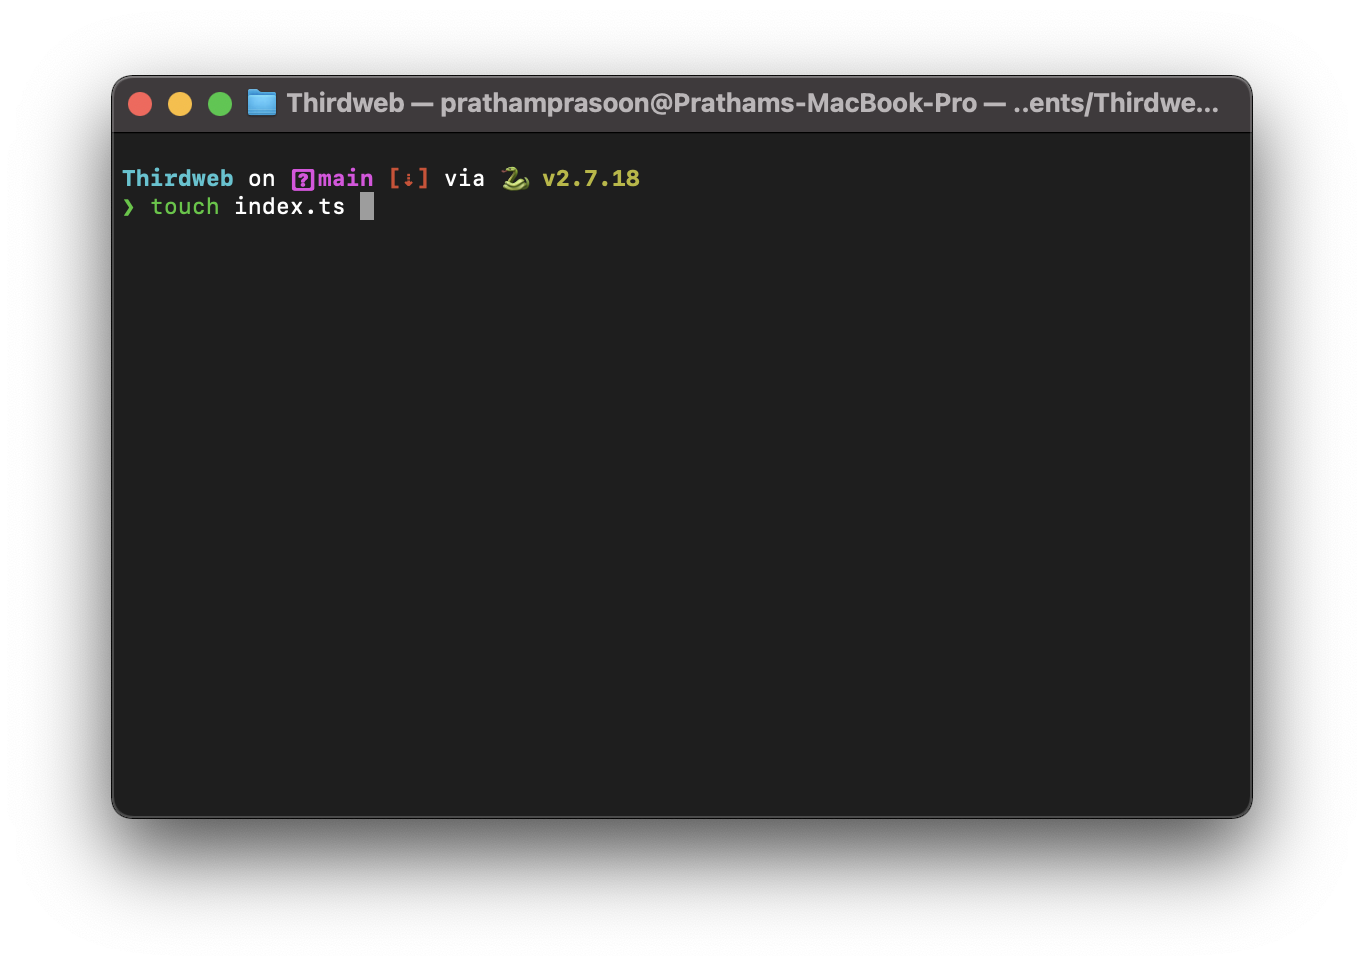
1. Create a Typescript file
Go ahead and create a new TypeScript file. Let's call it index.ts and open it in your favorite code editor. We'll use VS code.
Next up use we'll install the ThirdWeb SDK using npm!
2. SDK installation and setup with TypeScript
- @3rdweb/sdk - thirdweb TypeScript SDK.
- ethers - will give us very useful utils.
- dotenv - to hide our private key.
- typescript - since this is a TypeScript project
- @types/node - typing for node as a dev dependency.
- tslib - utility package
npm init -y npm install @3rdweb/sdk ethers dotenv npm install --save-dev typescript @types/node ts-node tslib
3. Import the SDK
Let's take the code step by step. At the end we'll include a full code snippet.
Import the following classes from the sdk.
In order to make use of our SDK, you need to establish a connection to a blockchain. Click here to learn how to connect to the blockchain and instantiate our SDK.
For this guide, you will need to instantiate the SDK following these steps, using your own signer with thirdweb.
4. Define which module to use
Now we need to define which module we want to use. This is the module we just created inside our project. We called the module Drop written in TypeScript. This module has an address. We need to pass the address here. You can find the address here, under Drop written in TypeScript:
start_drop.png
In our index.ts file we include the following code. First we define a variable drop and store our module in here.
Then we create an object that uses the drop module inside the SDK with our address.
// Initialize drop module by passing in contract address const drop = sdk.getDropModule("0x158cb62B40A474155f64f4b83f18DAB3DB2C780d");
5. Time to mint the NFT in our Drop module!
The arguments passed over here are the same as minting an NFT inside the dashboard. If you want to familiarize yourself with the process, check out the dashboard!
// Minting the NFT asynchronously const lazyMintNft = async () => { try { await drop.createBatch([{ name: "thirdweb", description: "Smart contracts you control. Tools that accelerate your workflow. Intuitive SDKs and widgets for developers.", image: "ipfs/<YOUR_IPFS_FOLDER_CID>/1.png", properties: {}, }]); } catch (err) { console.log(err); } }; // Running the entire thing lazyMintNft();
So the only thing left is to run our code! Open a terminal and paste the following:
# Runs the typescript file npx ts-node index.ts
6. That's it!
Congratulations! You have created your own drop. The NFTs are available to be claimed! You can use the code below to check all your drops!
//Get all Drops drop.getAll()