🎉 ⏱ Ready to build? Get early access now!⏱ 🎉

Create an early access NFT with TypeScript and React
Easily create an early access NFT and a frontend for users to claim the NFT
Introduction
In this guide, we are going to make our own early access NFTs using TypeScript. We are going to create an NFT using the bundledrop module and then we are going to set the price and the number of claimable NFTs using a claim condition factory. The bundledrop module allows us to create ERC1155 tokens which means that you can set up a collection of NFTs with a customizable number of each NFT. Once we create the NFT and the claim condition, we will display the NFT with connect wallet and claim buttons in a React project.
Let's begin
1. Create Module
Our first step is to create a bundle drop module. This can be done in the dashboard and if you aren't sure how to create the module please check this guide.
2. Project Set-Up
Create a new React project with TypeScript and then install the dependencies:
- @3rdweb/sdk - thirdweb TypeScript SDK.
- ethers - will give us very useful utils.
- dotenv - to hide our private key.
- tslib - utility package
npx create-react-app my-app --template typescript npm install @3rdweb/sdk ethers dotenv fs npm install --save-dev ts-node tslib
3. Instantiate the SDK
To create, configure and interact with our NFTs we will need to use the thirdweb SDK. Instead of initializing it each time we use it, let's make a function that initializes it and then can be called as needed.
Start by making a new folder called scripts in the root of your project and then make a file in that folder called getModule.ts.
In getModule.ts , follow these steps:
Import the libraries we'll need:
// Importing libraries import { ThirdwebSDK } from '@3rdweb/sdk'; import { ethers } from 'ethers'; import dotenv from 'dotenv'; // Use dotenv for private key dotenv.config();
Instantiate and connect to the module using the module address found in the dashboard. Then export the module.
const sdk = new ThirdwebSDK( new ethers.Wallet( // Your wallet private key process.env.PRIVATE_KEY as string, // RPC URL ethers.getDefaultProvider('https://rinkeby-light.eth.linkpool.io/') ) ); // Set variable for the bundle drop module contract address which can be found after creating a bundle drop module in the dashboard const bundleDropAddress = '<MODULE_ADDRESS>'; // Initialize the bundle drop module with the contract address const bundleDrop = sdk.getBundleDropModule(bundleDropAddress); export default bundleDrop;
(PS: We're using the Rinkeby testnet in this guide)
4. Create the NFT
Now that we can connect to the SDK, we can move to the exciting step of creating our NFT! Make a new file in the scripts folder and call it createNft.ts. In this file we can follow these steps:
Import our module and the necessary library:
import { readFileSync } from 'fs'; import bundleDrop from './getModule';
Use the createBatch method to create our NFT. This method allows for the creation of multiple NFTs but we are only going to create one for now. The image we want mint as an NFT can be added to a new folder called assets which we can add inside our scripts folder.
const createNFT = async () => { try { await bundleDrop.createBatch([ { name: 'Early Access', description: 'This NFT will give you early access!', // Get the NFT from a file in our project image: readFileSync('scripts/assets/earlyAccessNft.jpg') } ]); console.log('✅ Successfully created a new NFT!'); } catch (error) { console.error('Failed to create the new NFT. Error: ', error); } }; createNFT();
In your root directory, run the code with this command in your console: npx ts-node scripts/createNft.ts
And you should see the success message in your console:

Awesome! We have our early access NFT☺️
PS: This is a TypeScript project. Don't forget that you will need a tsconfig.json file - here is documentation where you can find examples.
5. Set NFT Price and Supply
Now that we have our NFT, we need to set the start time, price, and supply. We can also set the number of NFTs that can be claimed in one transaction, create a white-list and adjust other settings. You can see a full example here (look at the 3rd example).
For our project, we are only going to set the start time, price, and supply. We can do this in a new file called nftConfig.ts. Start by importing our module and the necessary library.
import { ethers } from 'ethers'; import bundleDrop from './getModule';
Then we create a function called nftConfig and add the code to create a claim conditions factory which we use to adjust the config of our NFT.
const nftConfig = async () => { const factory = bundleDrop.getClaimConditionFactory(); const claimPhase = factory.newClaimPhase({ startTime: new Date(), maxQuantity: 1000 }); claimPhase.setPrice( // price cannot be set above, use this way instead ethers.utils.parseUnits('0.5'), // use the contract address of the token that we want to be used to purchase the NFTs '<TOKEN_ADDRESS>' ); };
Now we can add the call to our module which will update the claim condition of our NFT. We add it to the nftConfig function so that it now looks like this:
const nftConfig = async () => { const factory = bundleDrop.getClaimConditionFactory(); const claimPhase = factory.newClaimPhase({ startTime: new Date(), maxQuantity: 1000 }); claimPhase.setPrice( // price cannot be set above, use this way instead ethers.utils.parseUnits('0.5'), // use the contract address of the token that we want to be used to purchase the NFTs '<TOKEN_ADDRESS>' ); try { await bundleDrop.setClaimCondition('1', factory); console.log('🎉 Successfully added the claim condition!'); } catch (error) { console.log('Failed to set claim condition. Error: ', error); } // 1 refers to token id }; nftConfig();
In your root directory, run the code with this command in your console: npx ts-node scripts/nftConfig.ts
And you should see the success message in your console:
Amazing! We now have 1000 claimable NFTs! We just need a frontend for our users to interact with. Let's do it☺️
6. Display the NFT with a connect wallet button
We are going to display our NFT with a claim button to allow users to claim an NFT. We also have to offer a connect button for first-time users who have never connected their wallets to our site.
To do this, we will work in the src folder in our React app.
Our first step is to create a file called Nft.tsx which will be our component used to display the NFT.
We start off by installing the relevant libraries:
npm install @3rdweb/react @3rdweb/hooks
Then we can import all the libraries:
import { useEffect, useState } from 'react'; import { useWeb3 } from '@3rdweb/hooks'; import { ThirdwebSDK } from '@3rdweb/sdk'; import { ConnectWallet } from '@3rdweb/react';
Instantiate the SDK with the bundledrop module address found in the dashboard:
const sdk = new ThirdwebSDK('rinkeby'); const bundleDrop = sdk.getBundleDropModule( '<MODULE_ADDRESS>' );
Create the Nft function and with a useEffect to fetch the NFT using the SDK and the token id (which is found in the dashboard) as a param:
const Nft = () => { // Use state to store the NFT's url const [nft, setNft] = useState(''); async function fetchNft() { try { const nft = await bundleDrop.get('0'); if (nft.metadata.image) { setNft(nft.metadata.image); } } catch (error) { console.log('Failed to get NFT. Error: ', error); } } useEffect(() => { fetchNft(); }, []); return ( <div> <h1>Claim your early access NFT!</h1> <img alt='early access nft' src={nft} width='250px' height='250px' /> </div> ); }; export default Nft;
7. Add a connect wallet button
Before users can claim an NFT, they need to connect their wallets. Thirdweb makes this incredibly easy! We can simply use the ThirdwebProvider context with the ConnectWallet component to make it happen. For all the details, please check out this guide.
After going through that guide, our App.tsx file should look similar to this:
import { ThirdwebProvider } from "@3rdweb/react"; import React from "react"; import "./App.css"; // The config for the thirdweb wallet connect component const supportedChainIds = [1, 4, 137, 250, 43114, 80001]; const connectors = { injected: {}, walletconnect: {}, walletlink: { appName: "early-access", url: "https://thirdweb.com", darkMode: false, }, }; function App() { return ( <ThirdwebProvider connectors={connectors} supportedChainIds={supportedChainIds} > <div className="App"></div> </ThirdwebProvider> ); } export default App;
This context makes adding the WalletConnect component very simple! We only want to display our NFT (and claim button) to users who are connected so in the Nft function in Nft.tsx, we've added some code to do this. There are comments on the lines we added.
const Nft = () => { const [nft, setNft] = useState(""); // If the user is connected, we can get their address const { address } = useWeb3(); async function fetchNft() { try { const nft = await bundleDrop.get("1"); if (nft.metadata.image) { setNft(nft.metadata.image); } } catch (error) { console.log("Failed to get NFT. Error: ", error); } } useEffect(() => { fetchNft(); }, []); // If the user is not connected, we can display the ConnectWallet component. See the guide referenced above for details. if (!address) { return ( <div style={{ margin: "10vh" }}> <h1 style={{ fontSize: "28px", marginBottom: "10vh" }}> Please connect to claim your early access NFT </h1>{" "} <ConnectWallet /> </div> ); } return ( <div> <h1>Claim your early access NFT!</h1> <img alt="early access nft" src={nft} width="250px" height="250px" /> </div> ); }; export default Nft;
8. Add a claim button
Okay. We have our NFT displayed and a connect button. All we need is a button for users to claim NFTs. Let's create a new component in a file called ClaimButton.tsx.
First, we import the libraries and initialize the module:
import { useState, useEffect } from 'react'; import { ThirdwebSDK } from '@3rdweb/sdk'; import { useWeb3 } from '@3rdweb/hooks'; const sdk = new ThirdwebSDK('rinkeby'); const bundleDrop = sdk.getBundleDropModule( '<MODULE_ADDRESS>' );
Then we can create a function called ClaimButton. Please follow along the comments in the code:
const ClaimButton = () => { // State to track when a user is claiming an NFT const [claiming, setClaiming] = useState(false); // Get provider and then signer from the context const { provider } = useWeb3(); const signer = provider ? provider.getSigner() : undefined; useEffect(() => { if (signer) { sdk.setProviderOrSigner(signer); } }, [signer]); // Claim our NFT with the claim method - (token id, quantity) const onClick = async () => { setClaiming(true); try { await bundleDrop.claim(0, 1); alert("Successfully Claimed!"); setClaiming(false); } catch (error) { console.log("Failed to claim. Error: ", error); setClaiming(false); } }; return ( <button disabled={claiming} style={{ padding: "10px 20px", textAlign: "center", backgroundColor: "#05A266", color: "white", }} className="btn" onClick={onClick} > {claiming ? "Claiming..." : "Claim Early Access NFT"} </button> ); }; export default ClaimButton;
Next Steps
Congrats🥳 You've got a claimable early access NFT! Yours could like something like this:
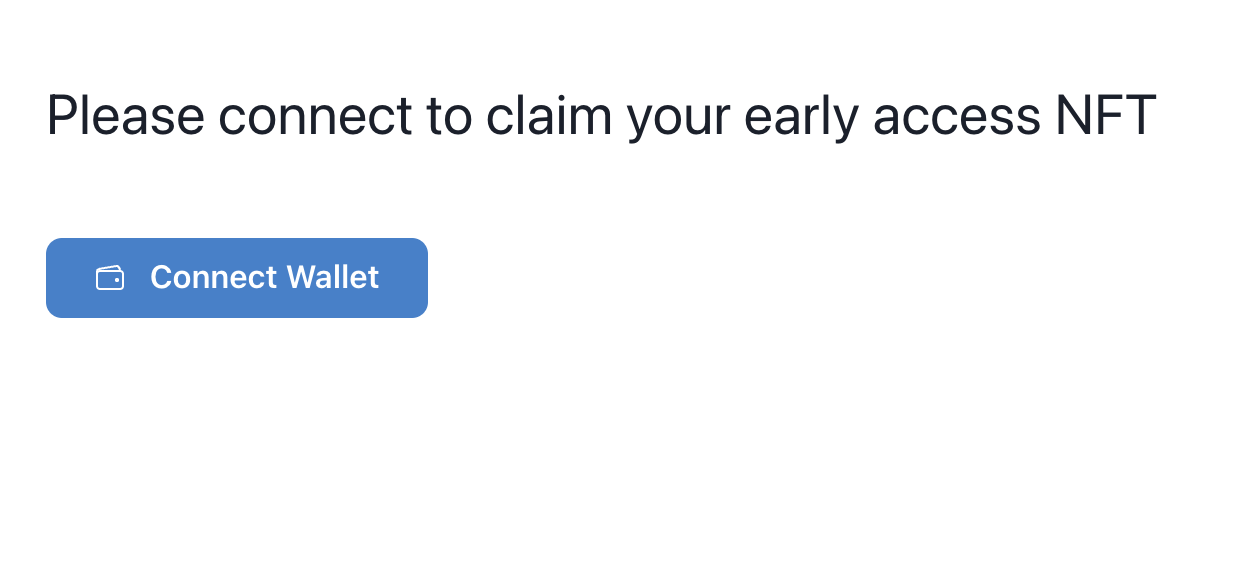
Connect Button

Connected and ready to claim
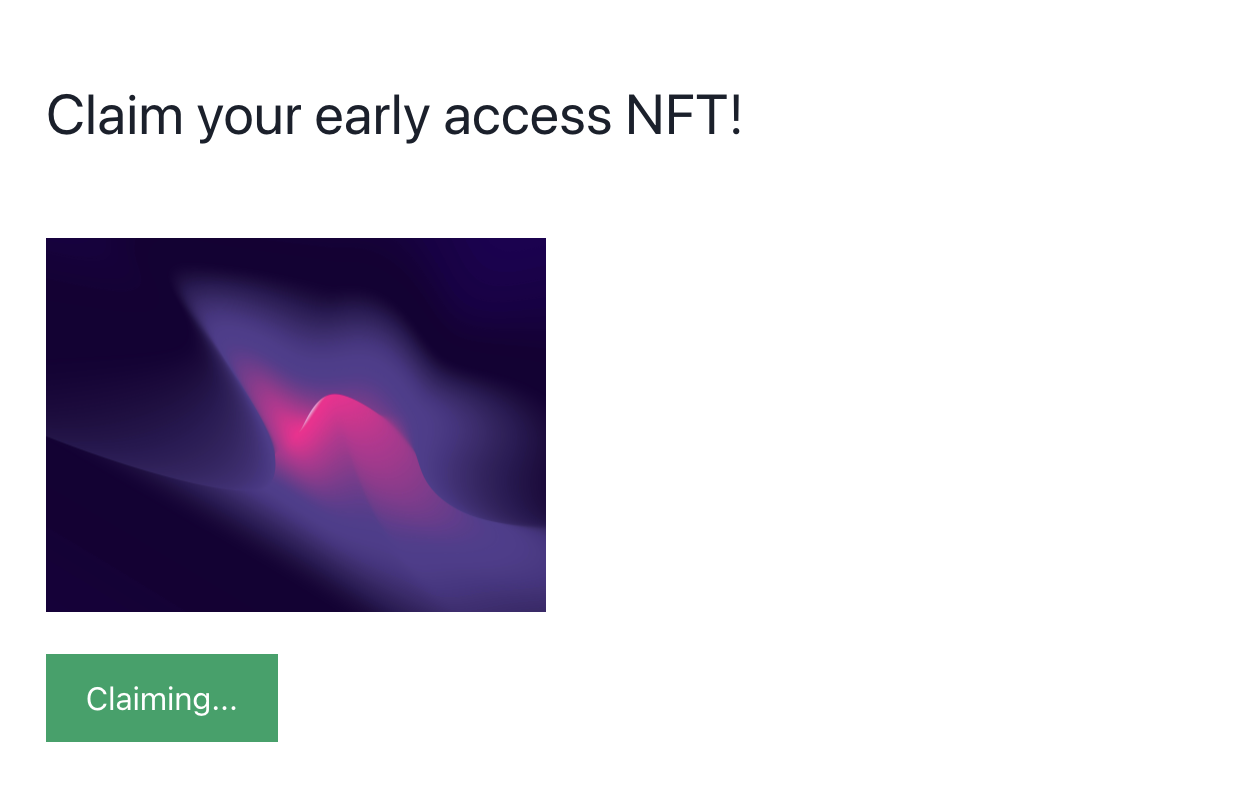
While claiming the NFT
If you want to take this project further, you can explore how we could use the balanceOf method to check whether or not a user has minted one of our NFTs! Check out our code examples here.