🎉 ⏱ Ready to build? Get early access now!⏱ 🎉

Create an NFT drop in the thirdweb dashboard
Create your own Drop where we can create NFTs and claim them
Intro
In this guide we'll create our own drop with the dashboard! In a drop you can list your NFTs and make them available to be claimed. After we create our drop, we will claim the NFT we minted.
By the way we also need to connect a wallet. So if you don't have a wallet, make sure to sign up with MetaMask or CoinWallet. If don't have a wallet, you can follow this guide to create one.
Alright without further ado, let's create our drop!
Dashboard setup
The first thing we need to do is head over to the dashboard and create a project and a Drop module. if you don't know how to do this, check out this guide.
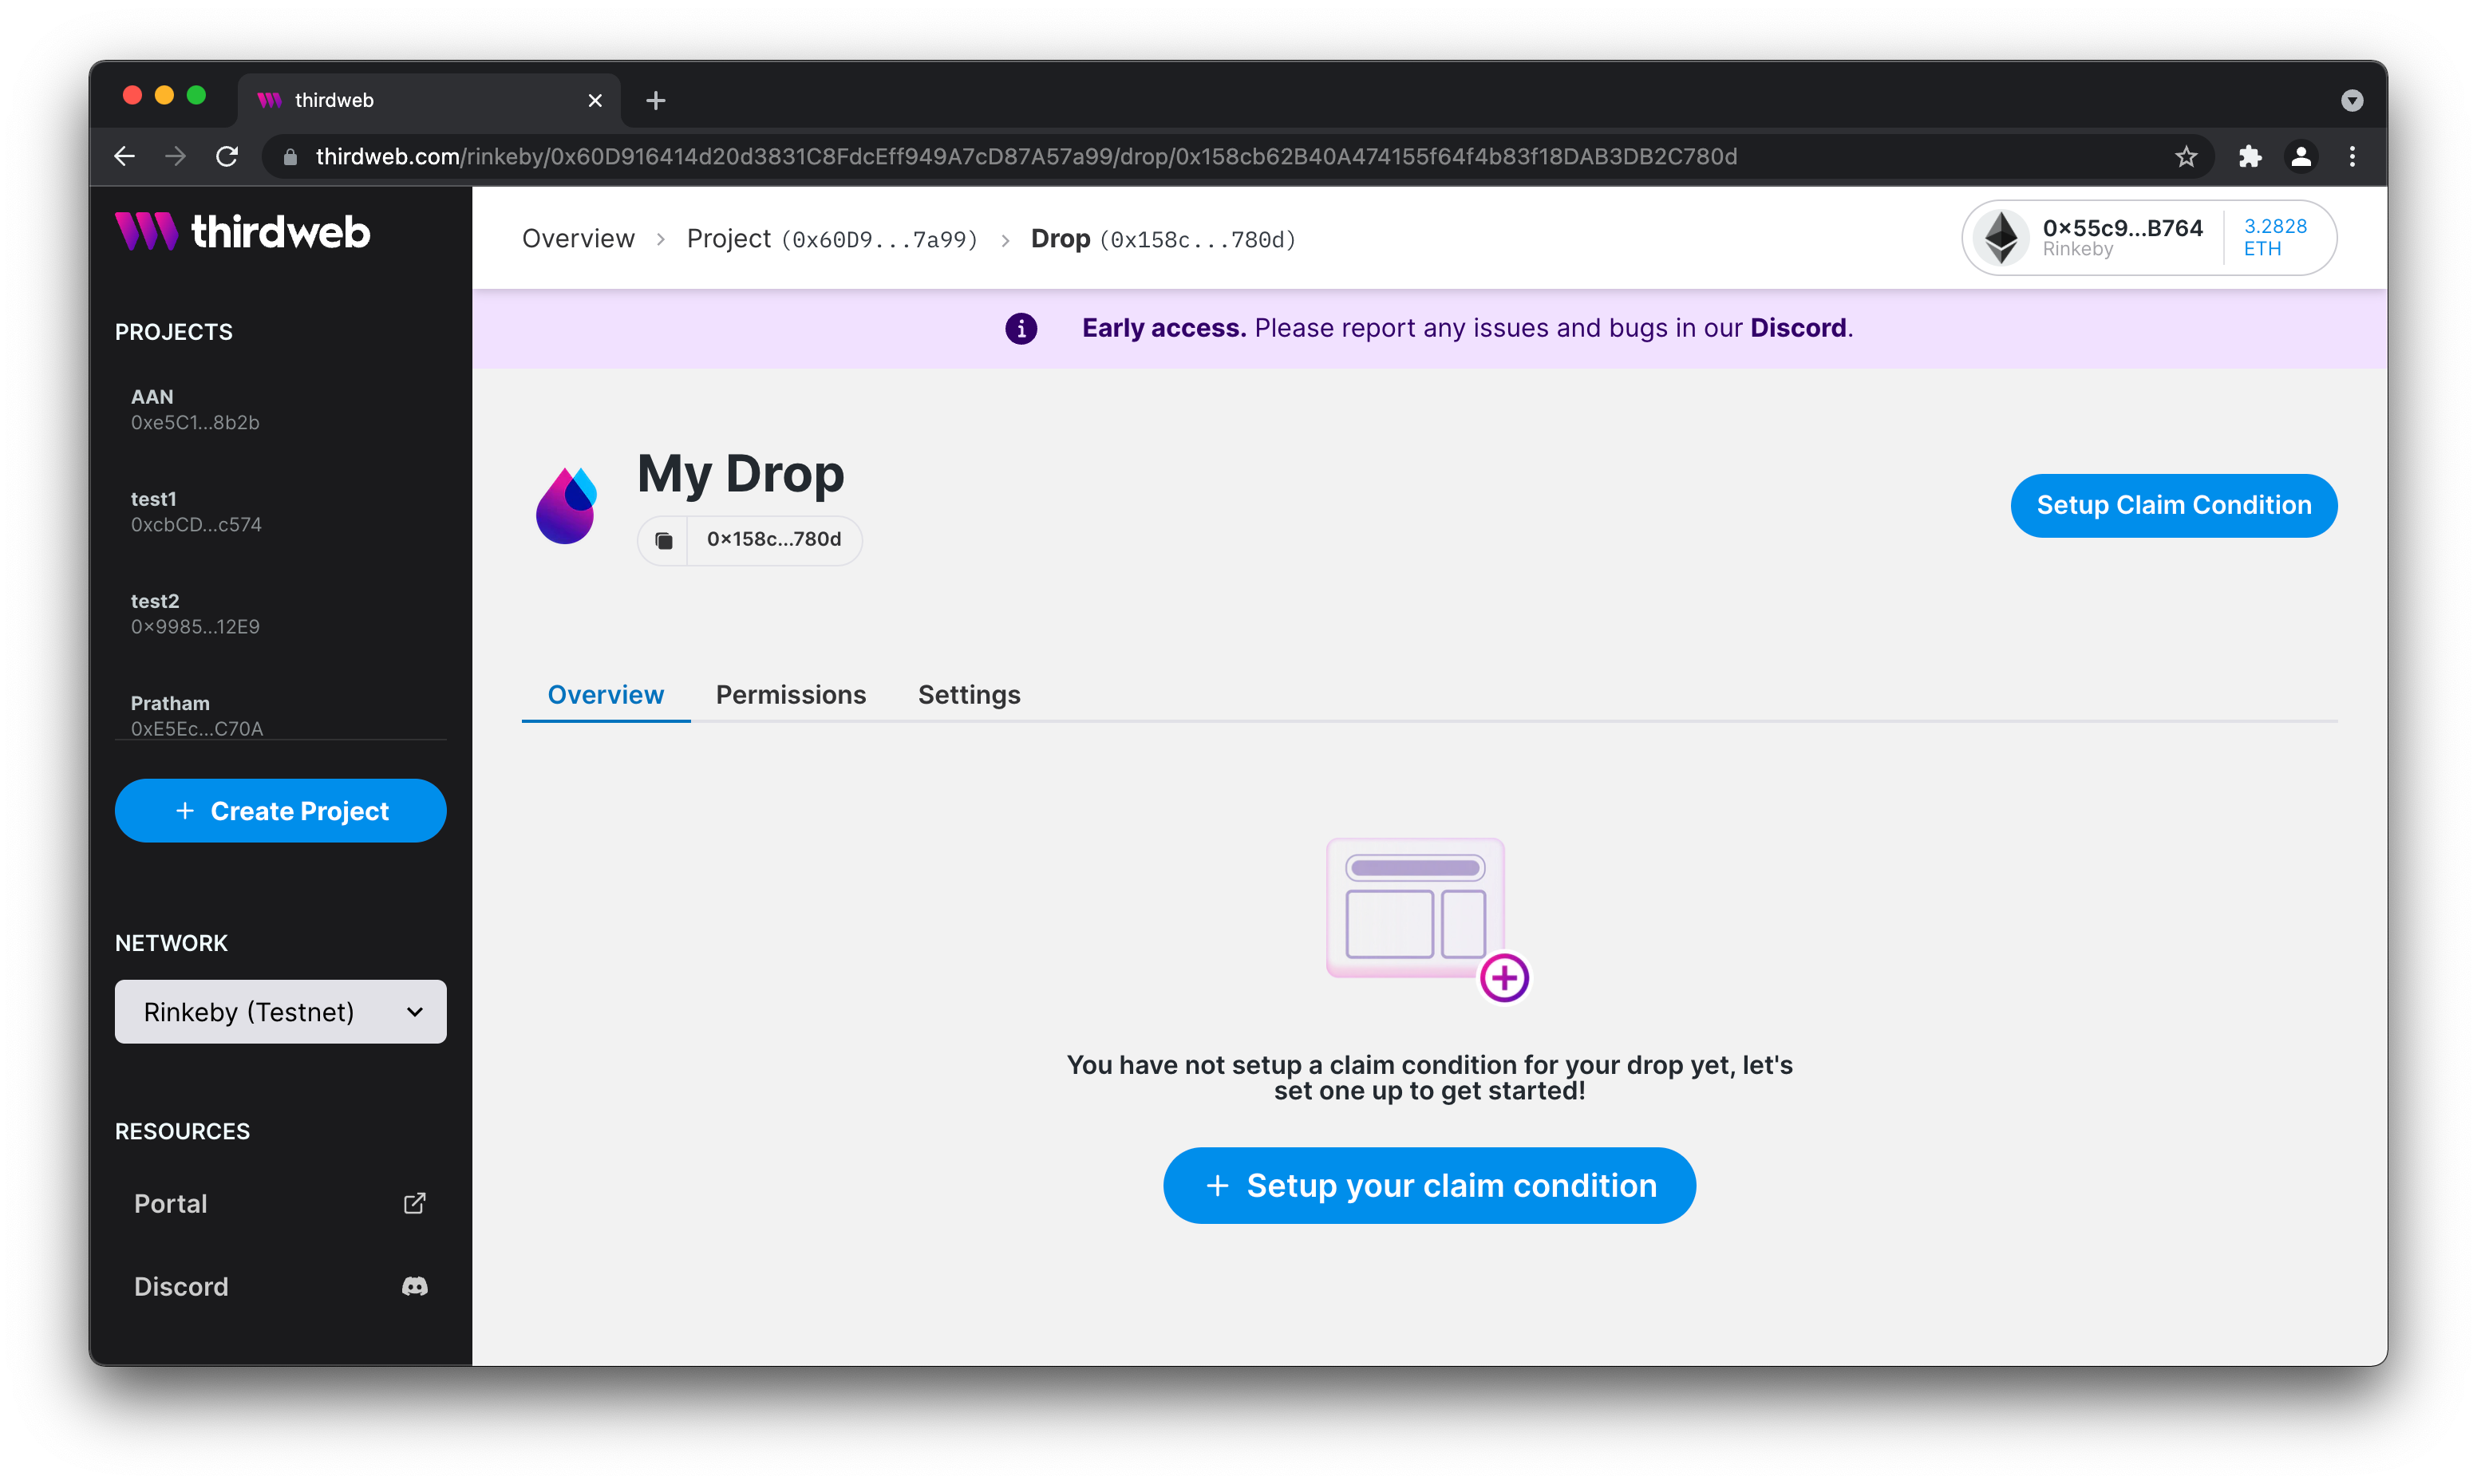
Set claim conditions
Once your Drop module has been created, we can go ahead and set the Claim conditions. These conditions are some of the rules we'll apply when someone wants to claim an NFT, such as price, max amount of tokens to be claimed, etc. Click on Setup your claim condition.
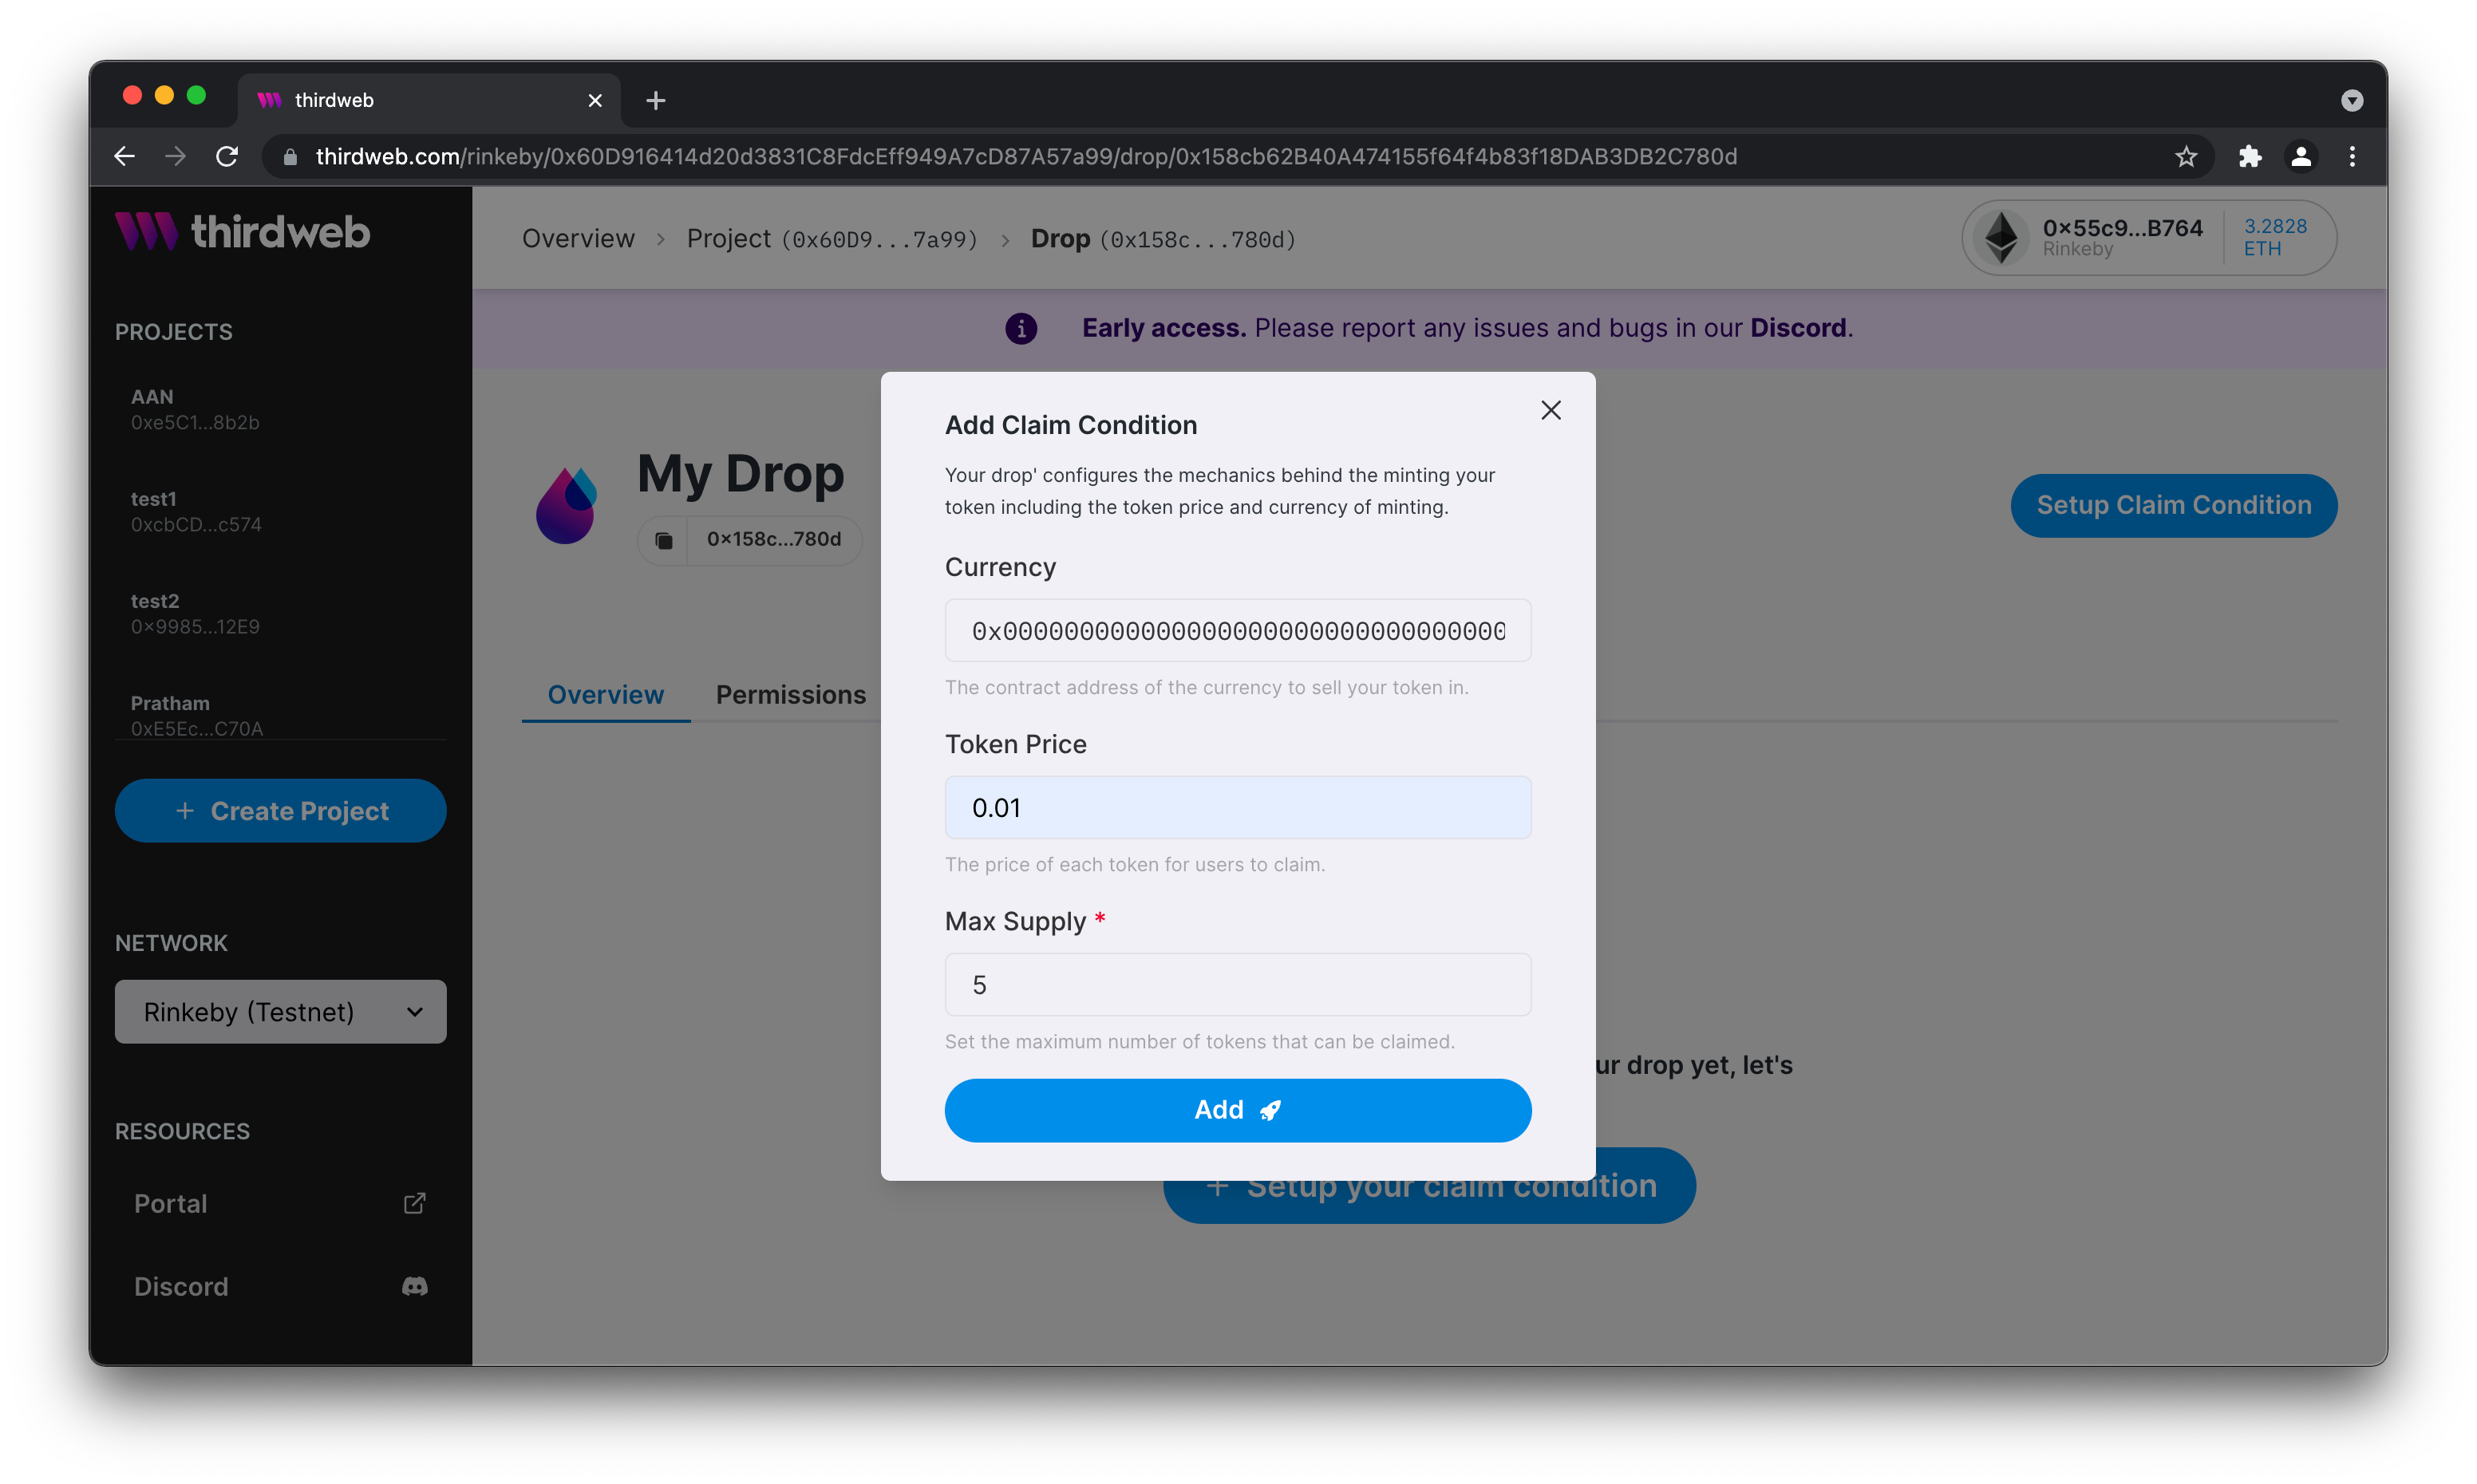
Claim conditions
In this example we will first pick our currency. To choose the native currency of a chain, leave the default setting, i.e. the 0x000...000. We set the max price per nft as 0.01 ETH and the max supply 5. Click on add to finalise. Your wallet will pop-up to authorise a transaction.
Fill in claim conditions
Go ahead to settings to check your claim conditions. You can see them here. Please note, that if you change your claim conditions, you will have to pay gas fees.
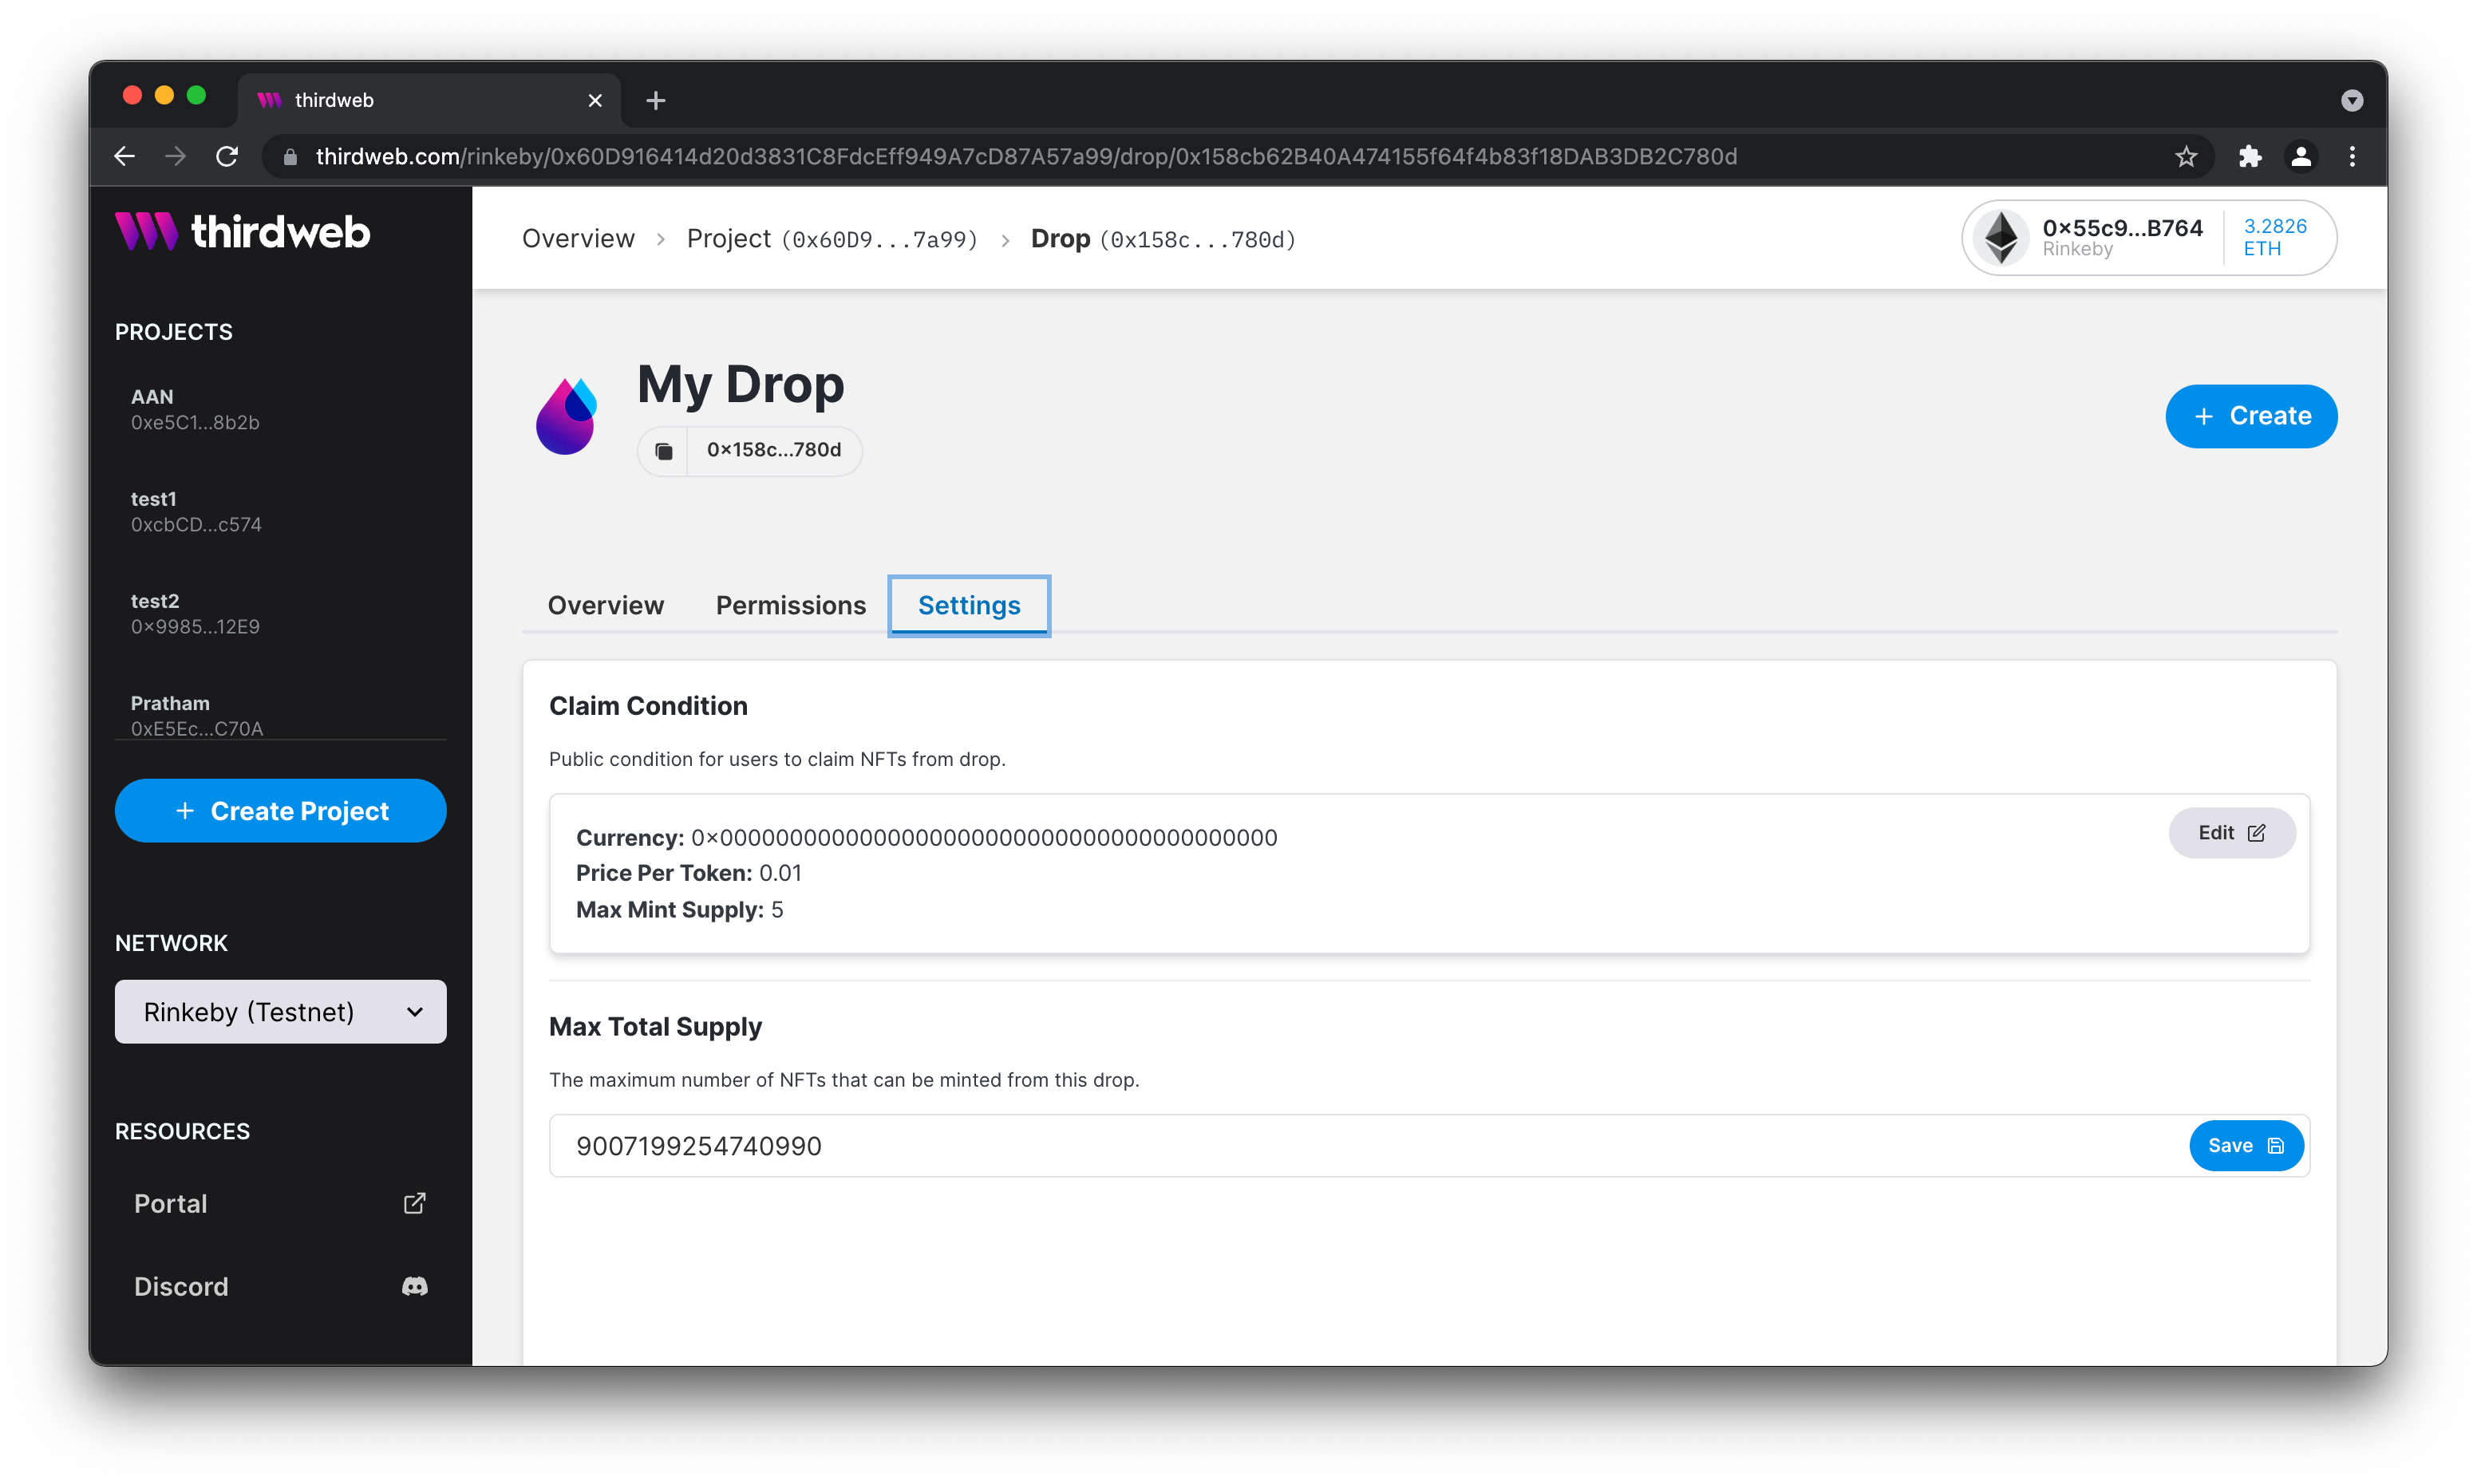
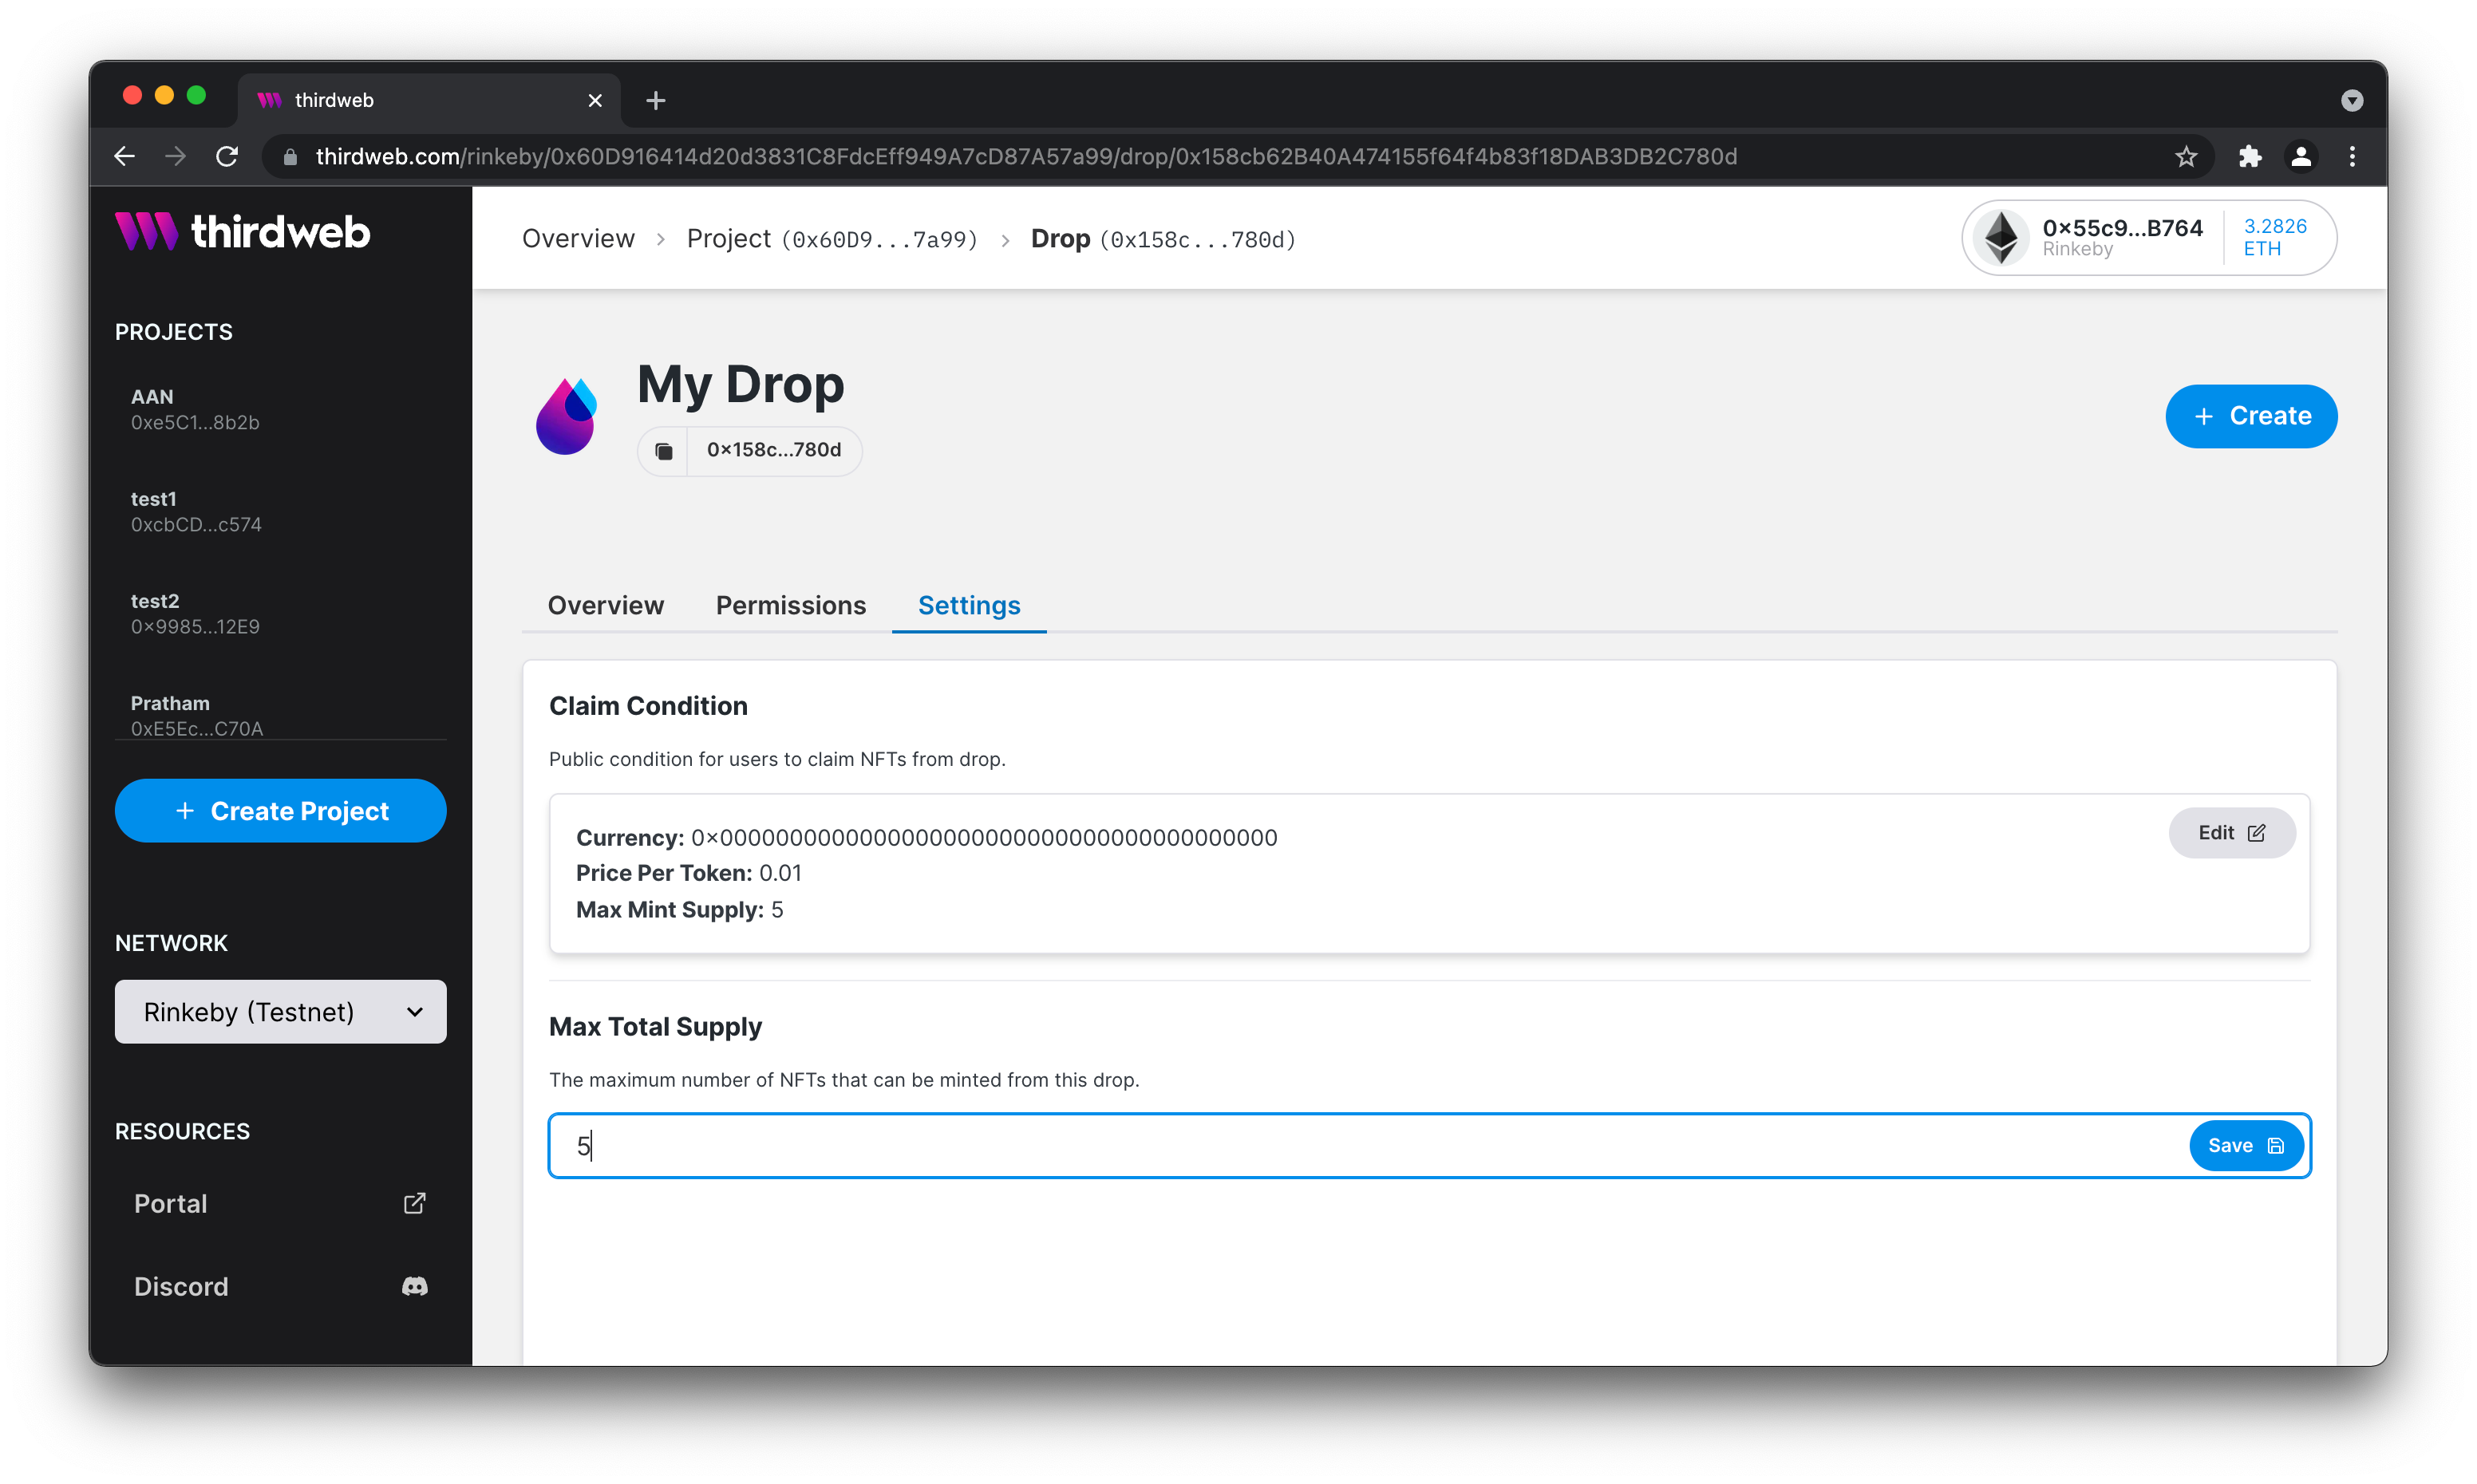
Fill in module settings
Over here you can also see the max supply you can set for your Drop. Please note the difference. You can create more drops than claims. In this case you would not want every piece of NFT to be claimed (yet). In this guide we will set the max to 5. Changing the amount of total supply in your settings, requires you to pay gas fees.
Mint an NFT
Now it's time to create our first NFT for our drop module. Click on Create.
Start minting an NFT
Fill in the details for your NFT, such as name and description and upload a file. We're choosing an image in this example. After you're done click on create drop. Your wallet will pop up to authorise a transaction.
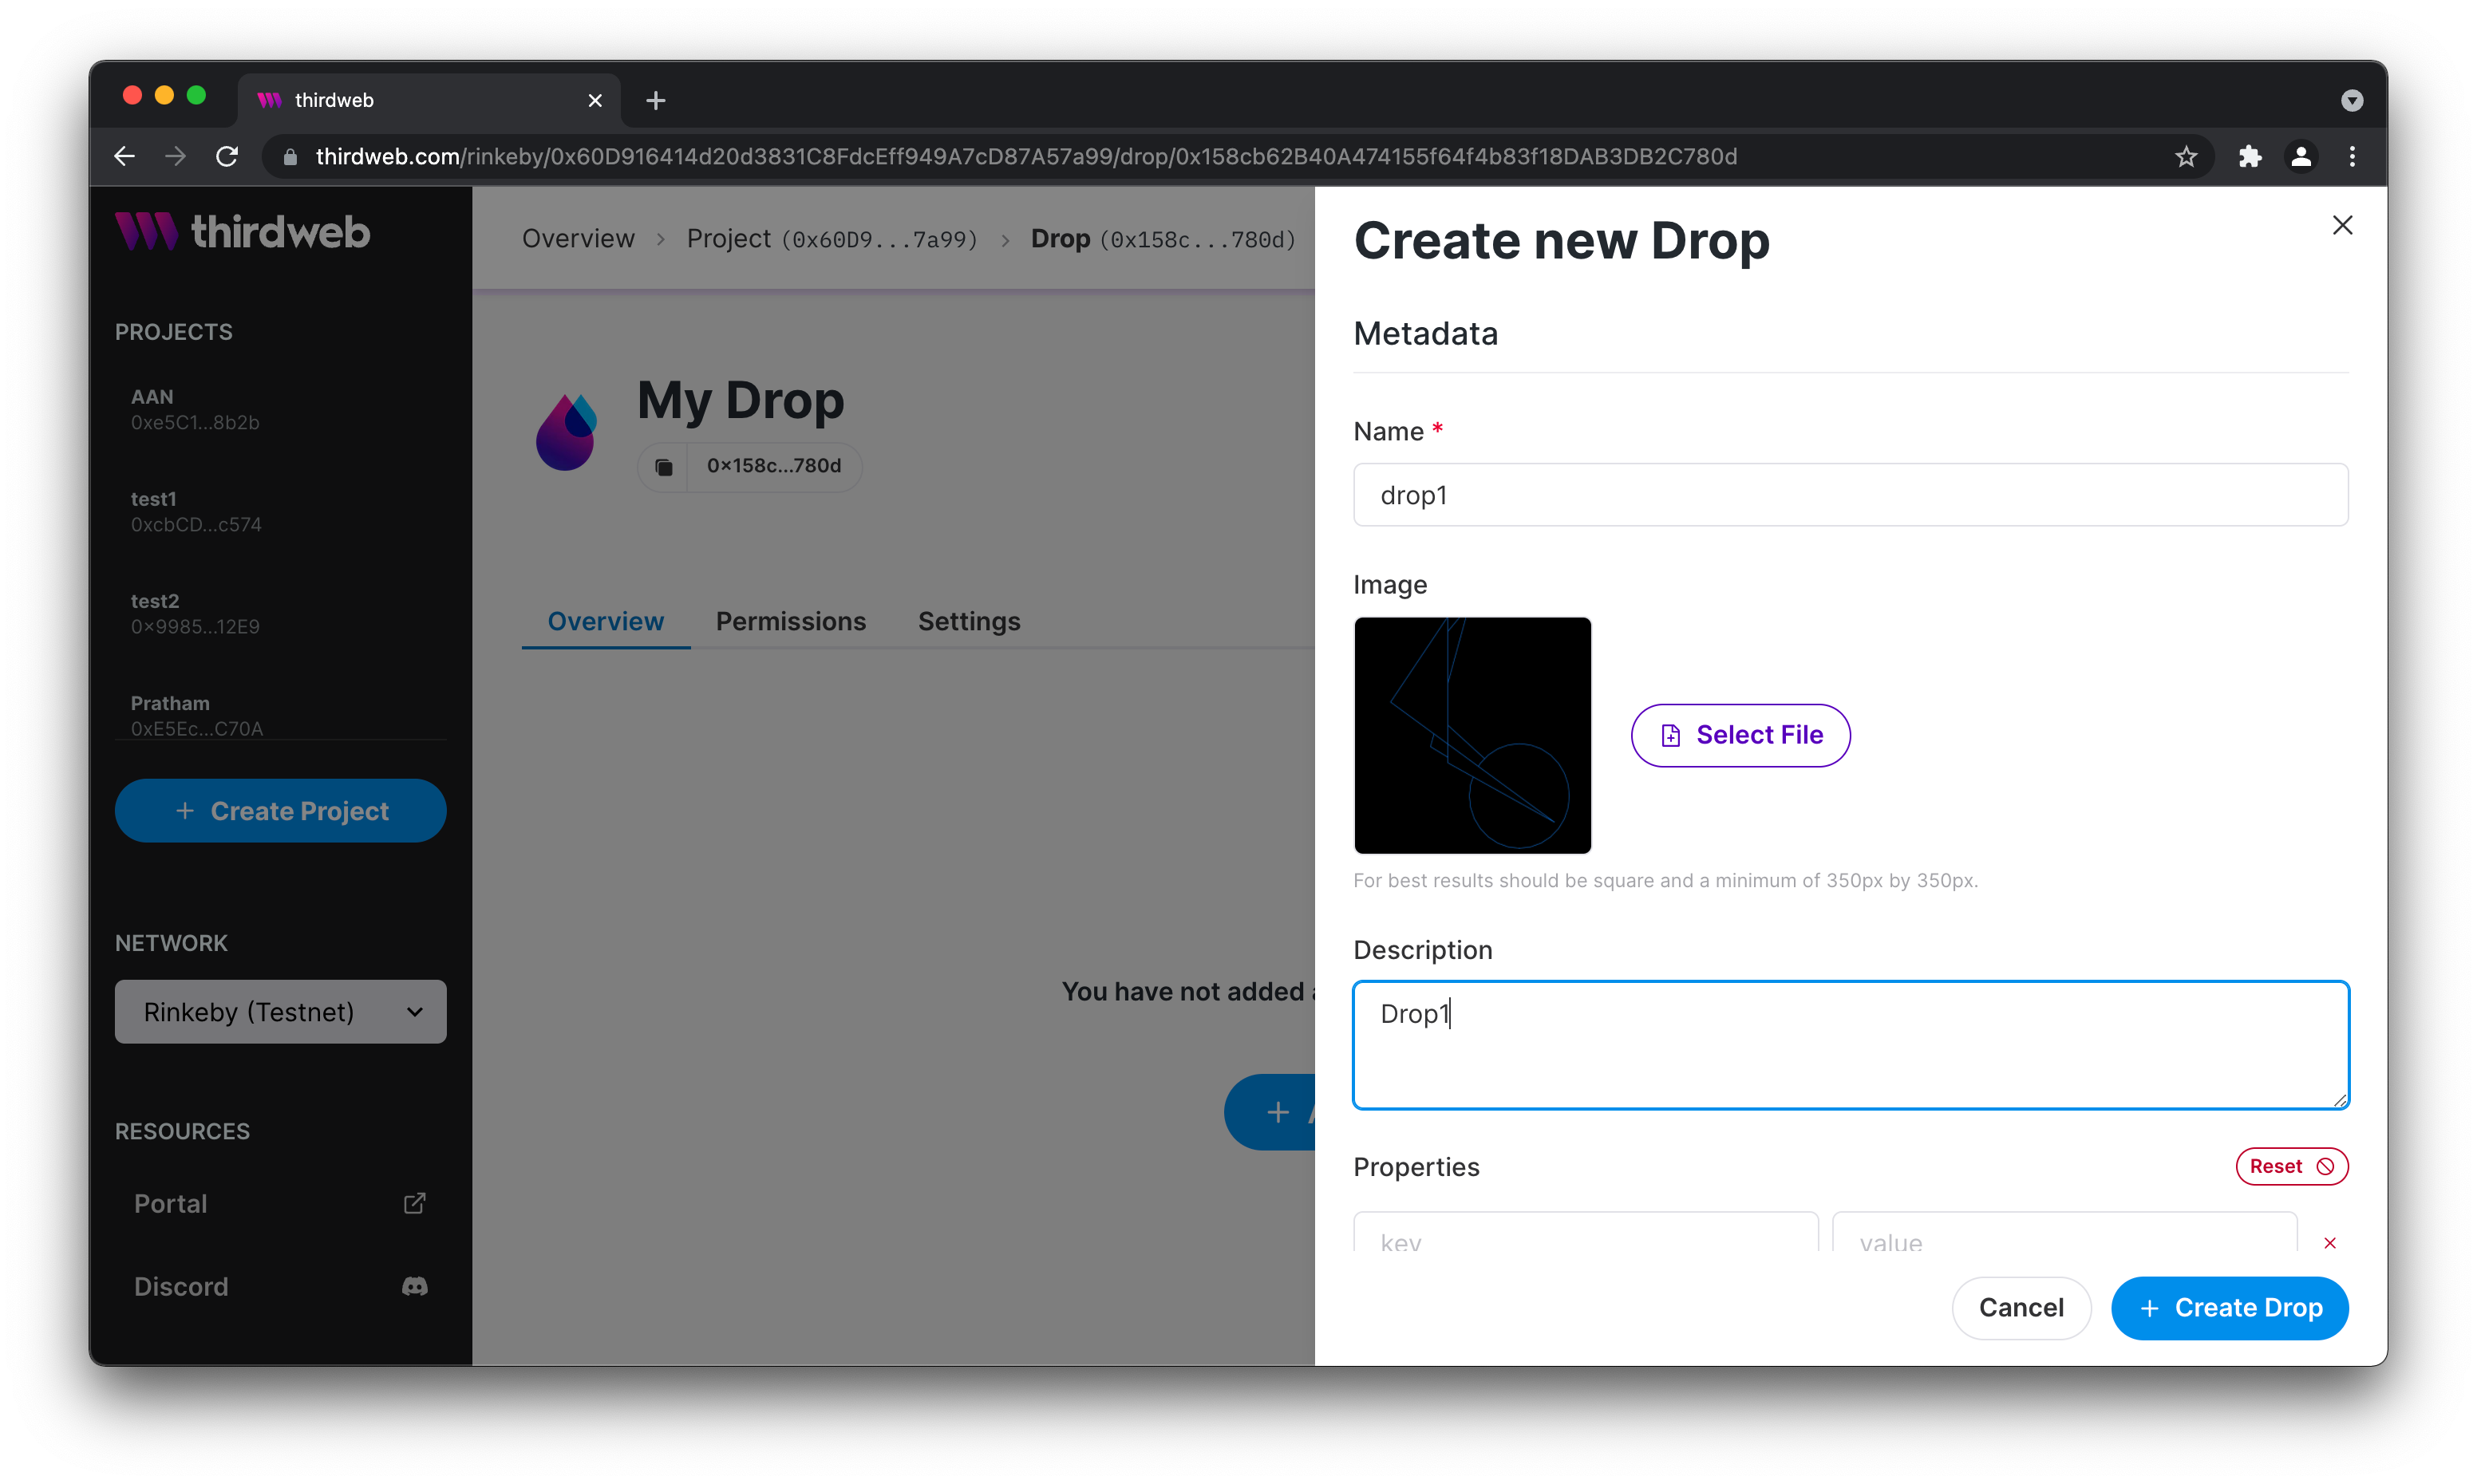
Fill in details of NFT
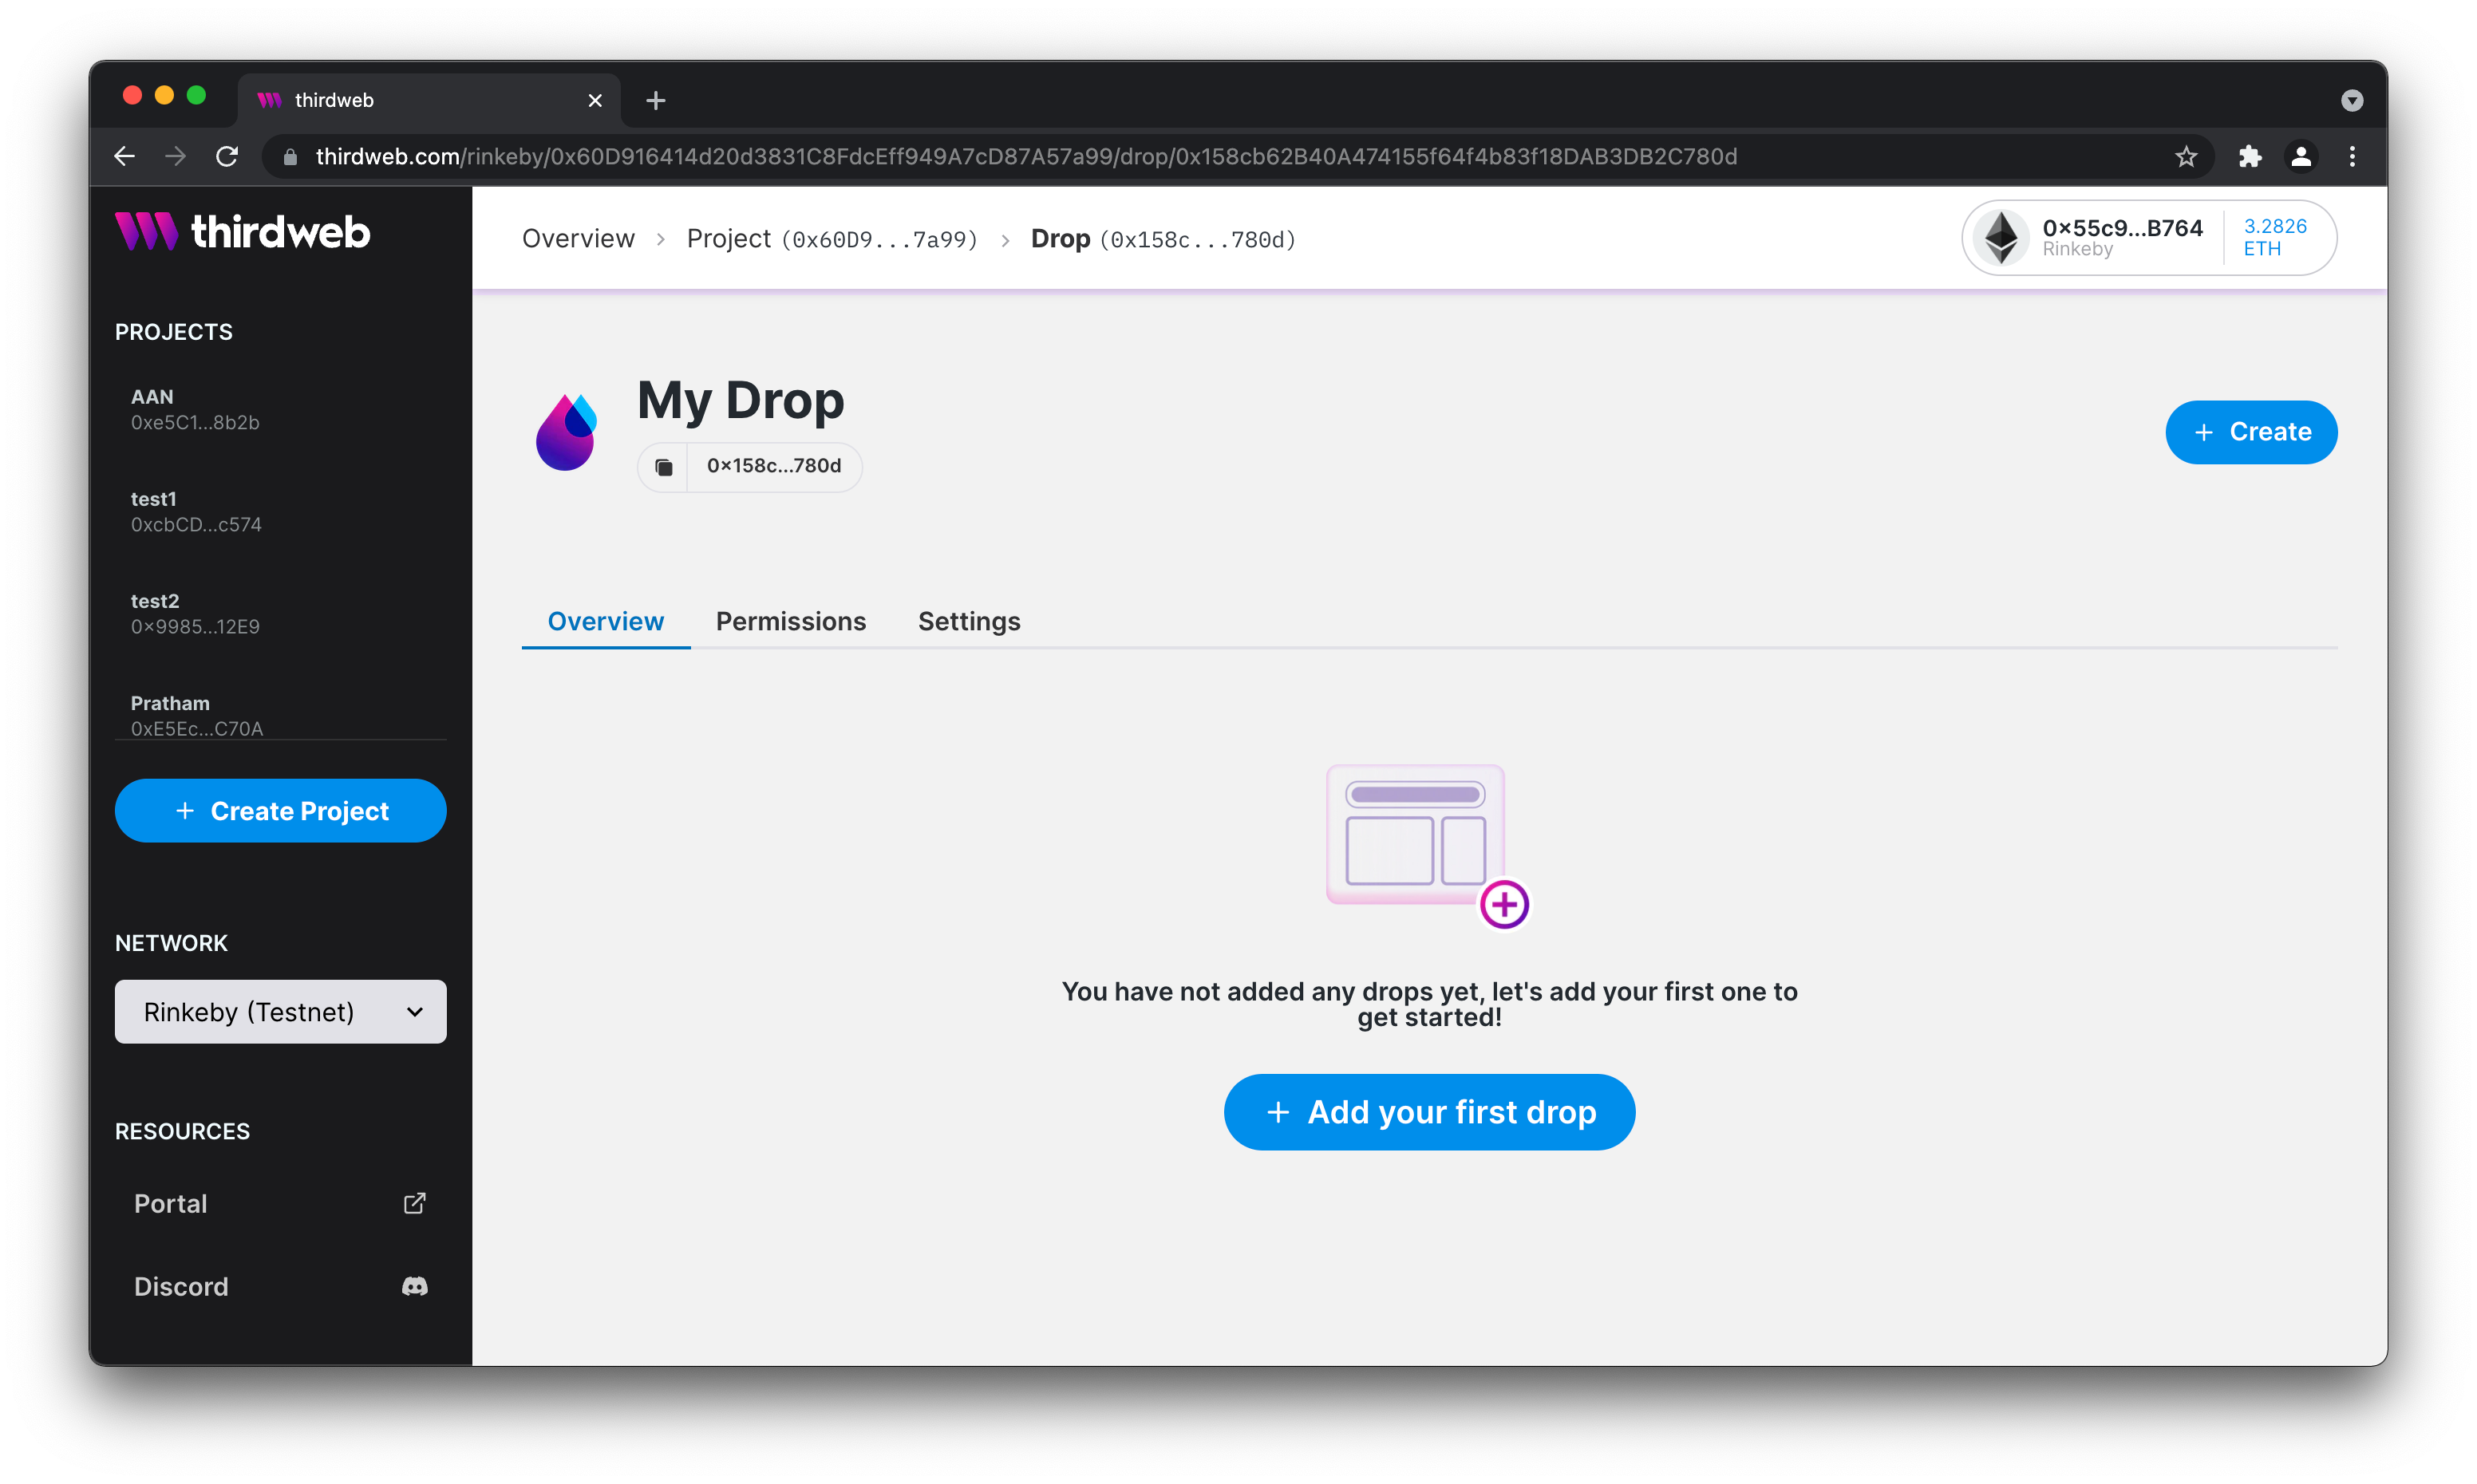
Claim NFT
Once you minted the NFT, it's available to be claimed. We can even claim it ourself! To see how this works click on the Claim Next Available.
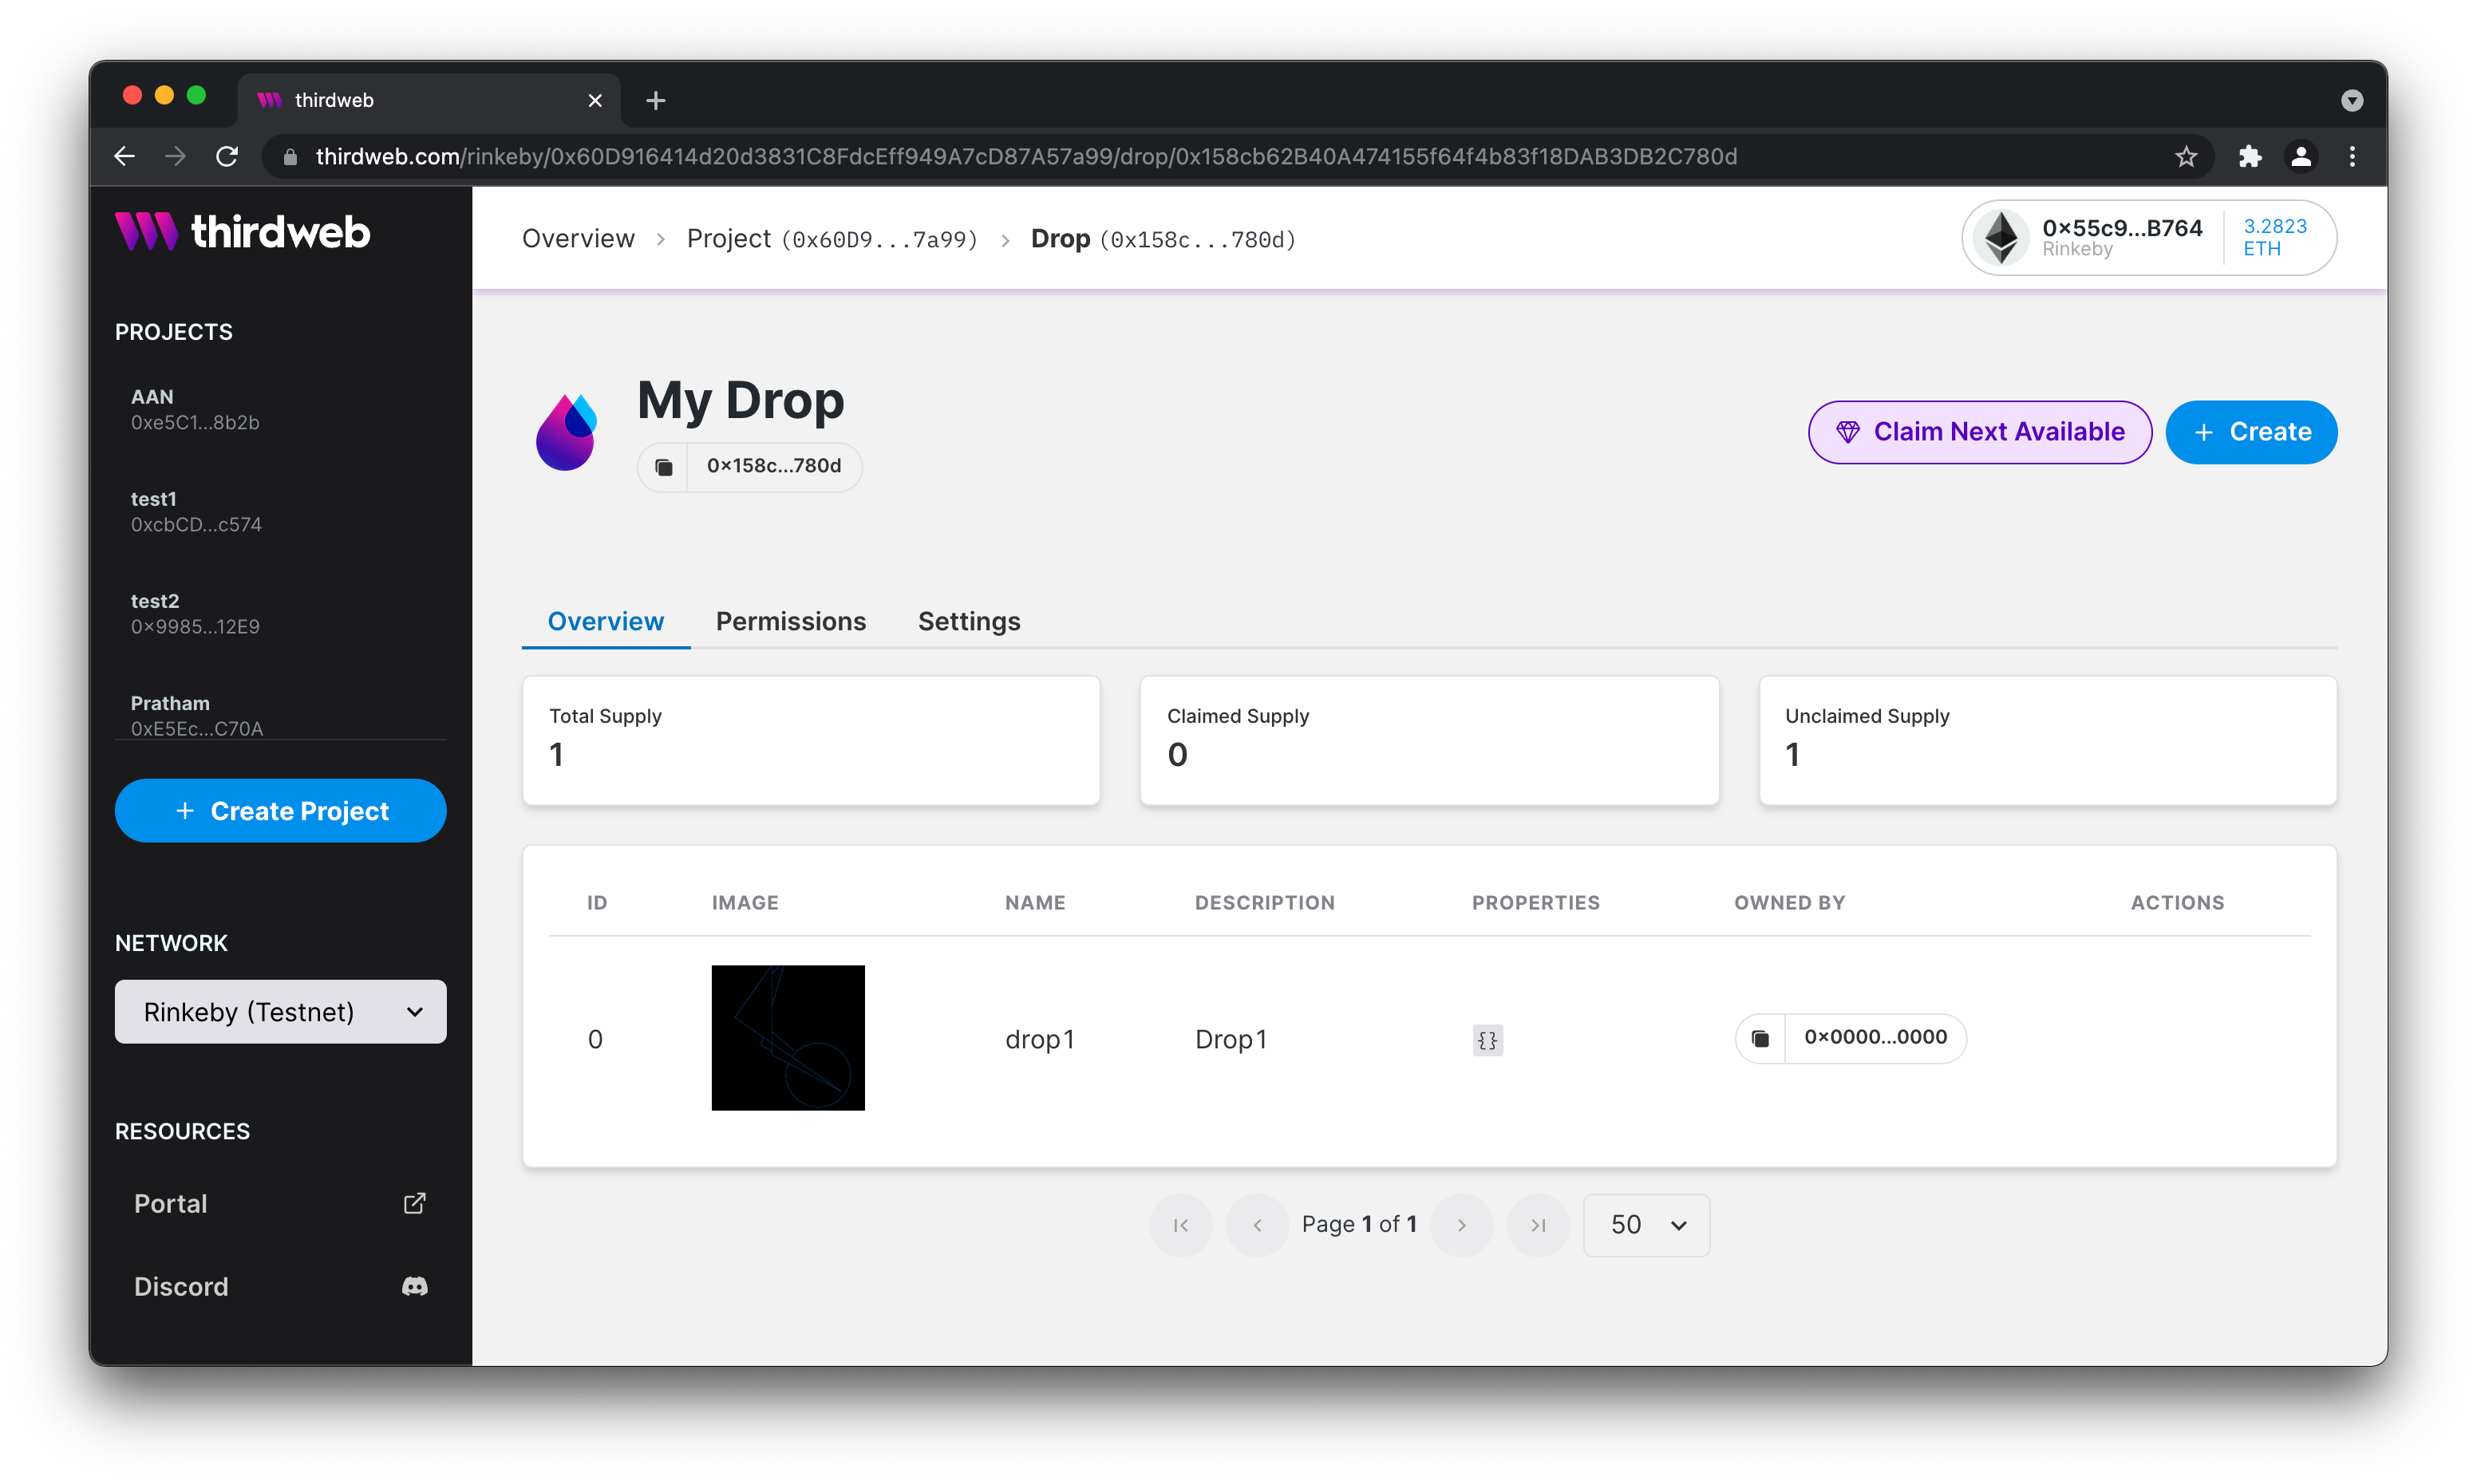
Drop is created
Once you clicked on the Claim Next available you will be prompted for a transaction. To claim your token, confirm the transaction.
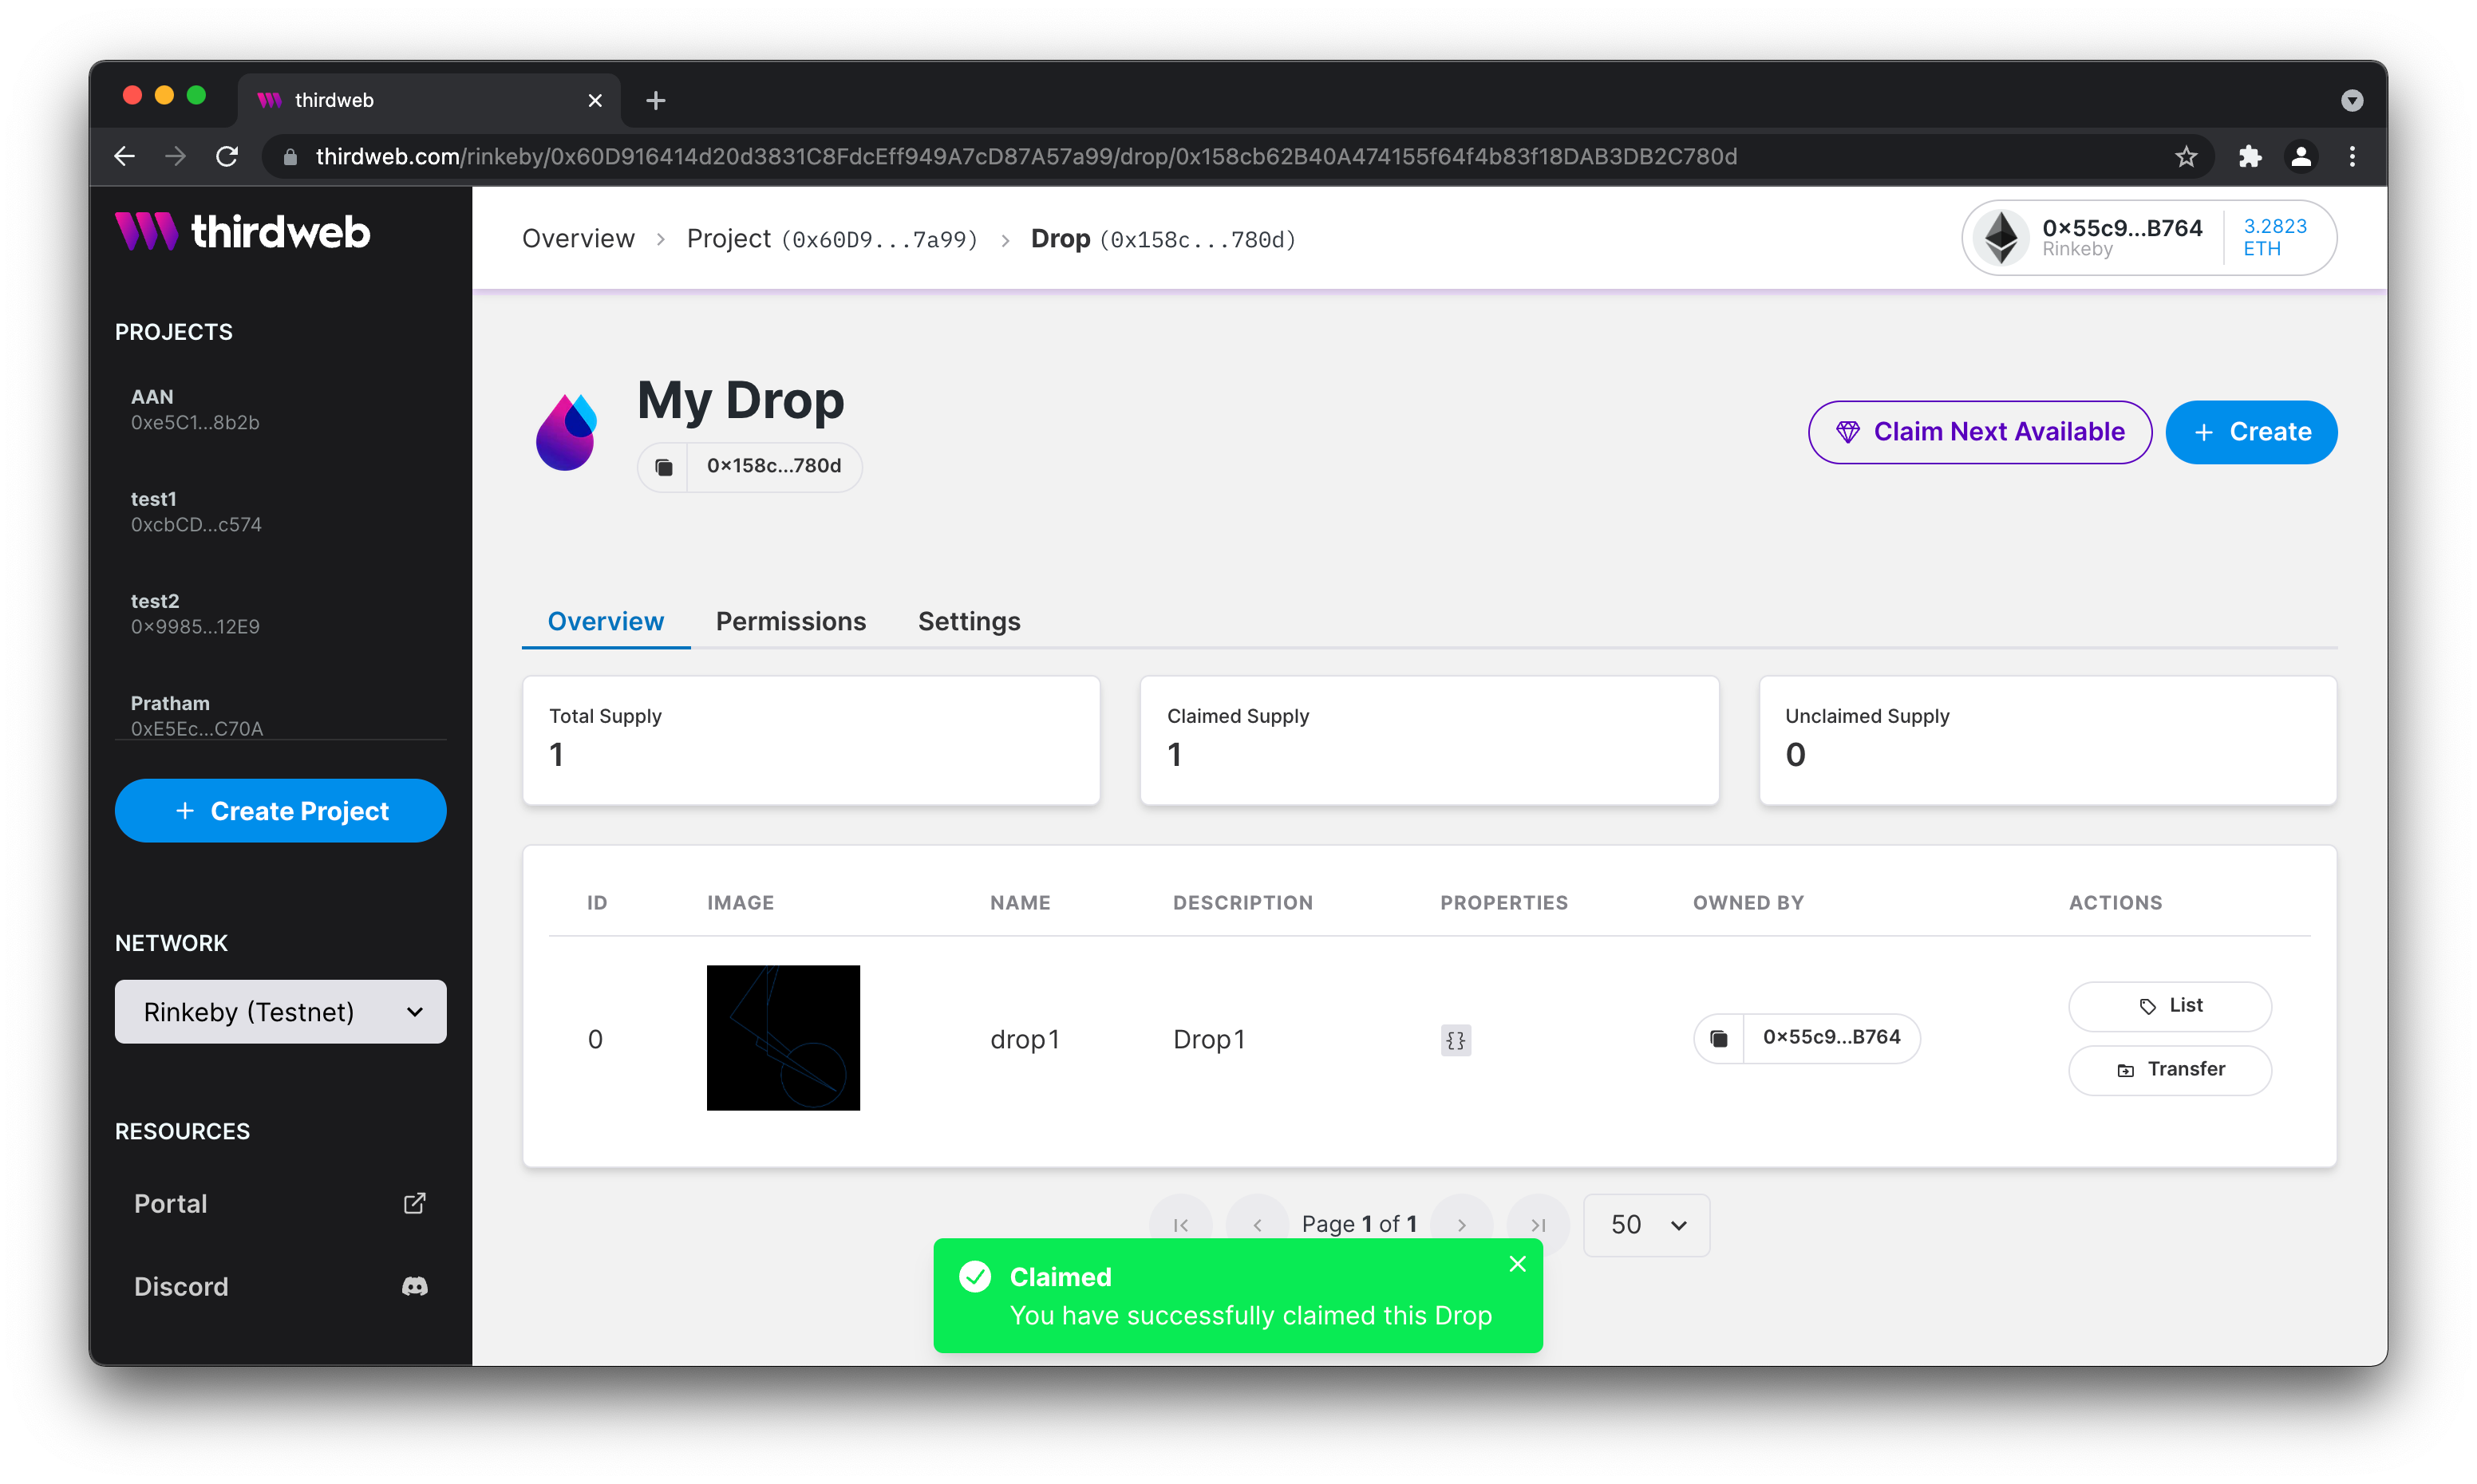
The NFT is claimed
That's it!
Congratulations! You have created your first drop and claimed it! You can also checkout all the transactions you created on etherscan.io We were working on the Rinkeby testnet in this guide. If you want to check out the transactions in this guide, click here.